
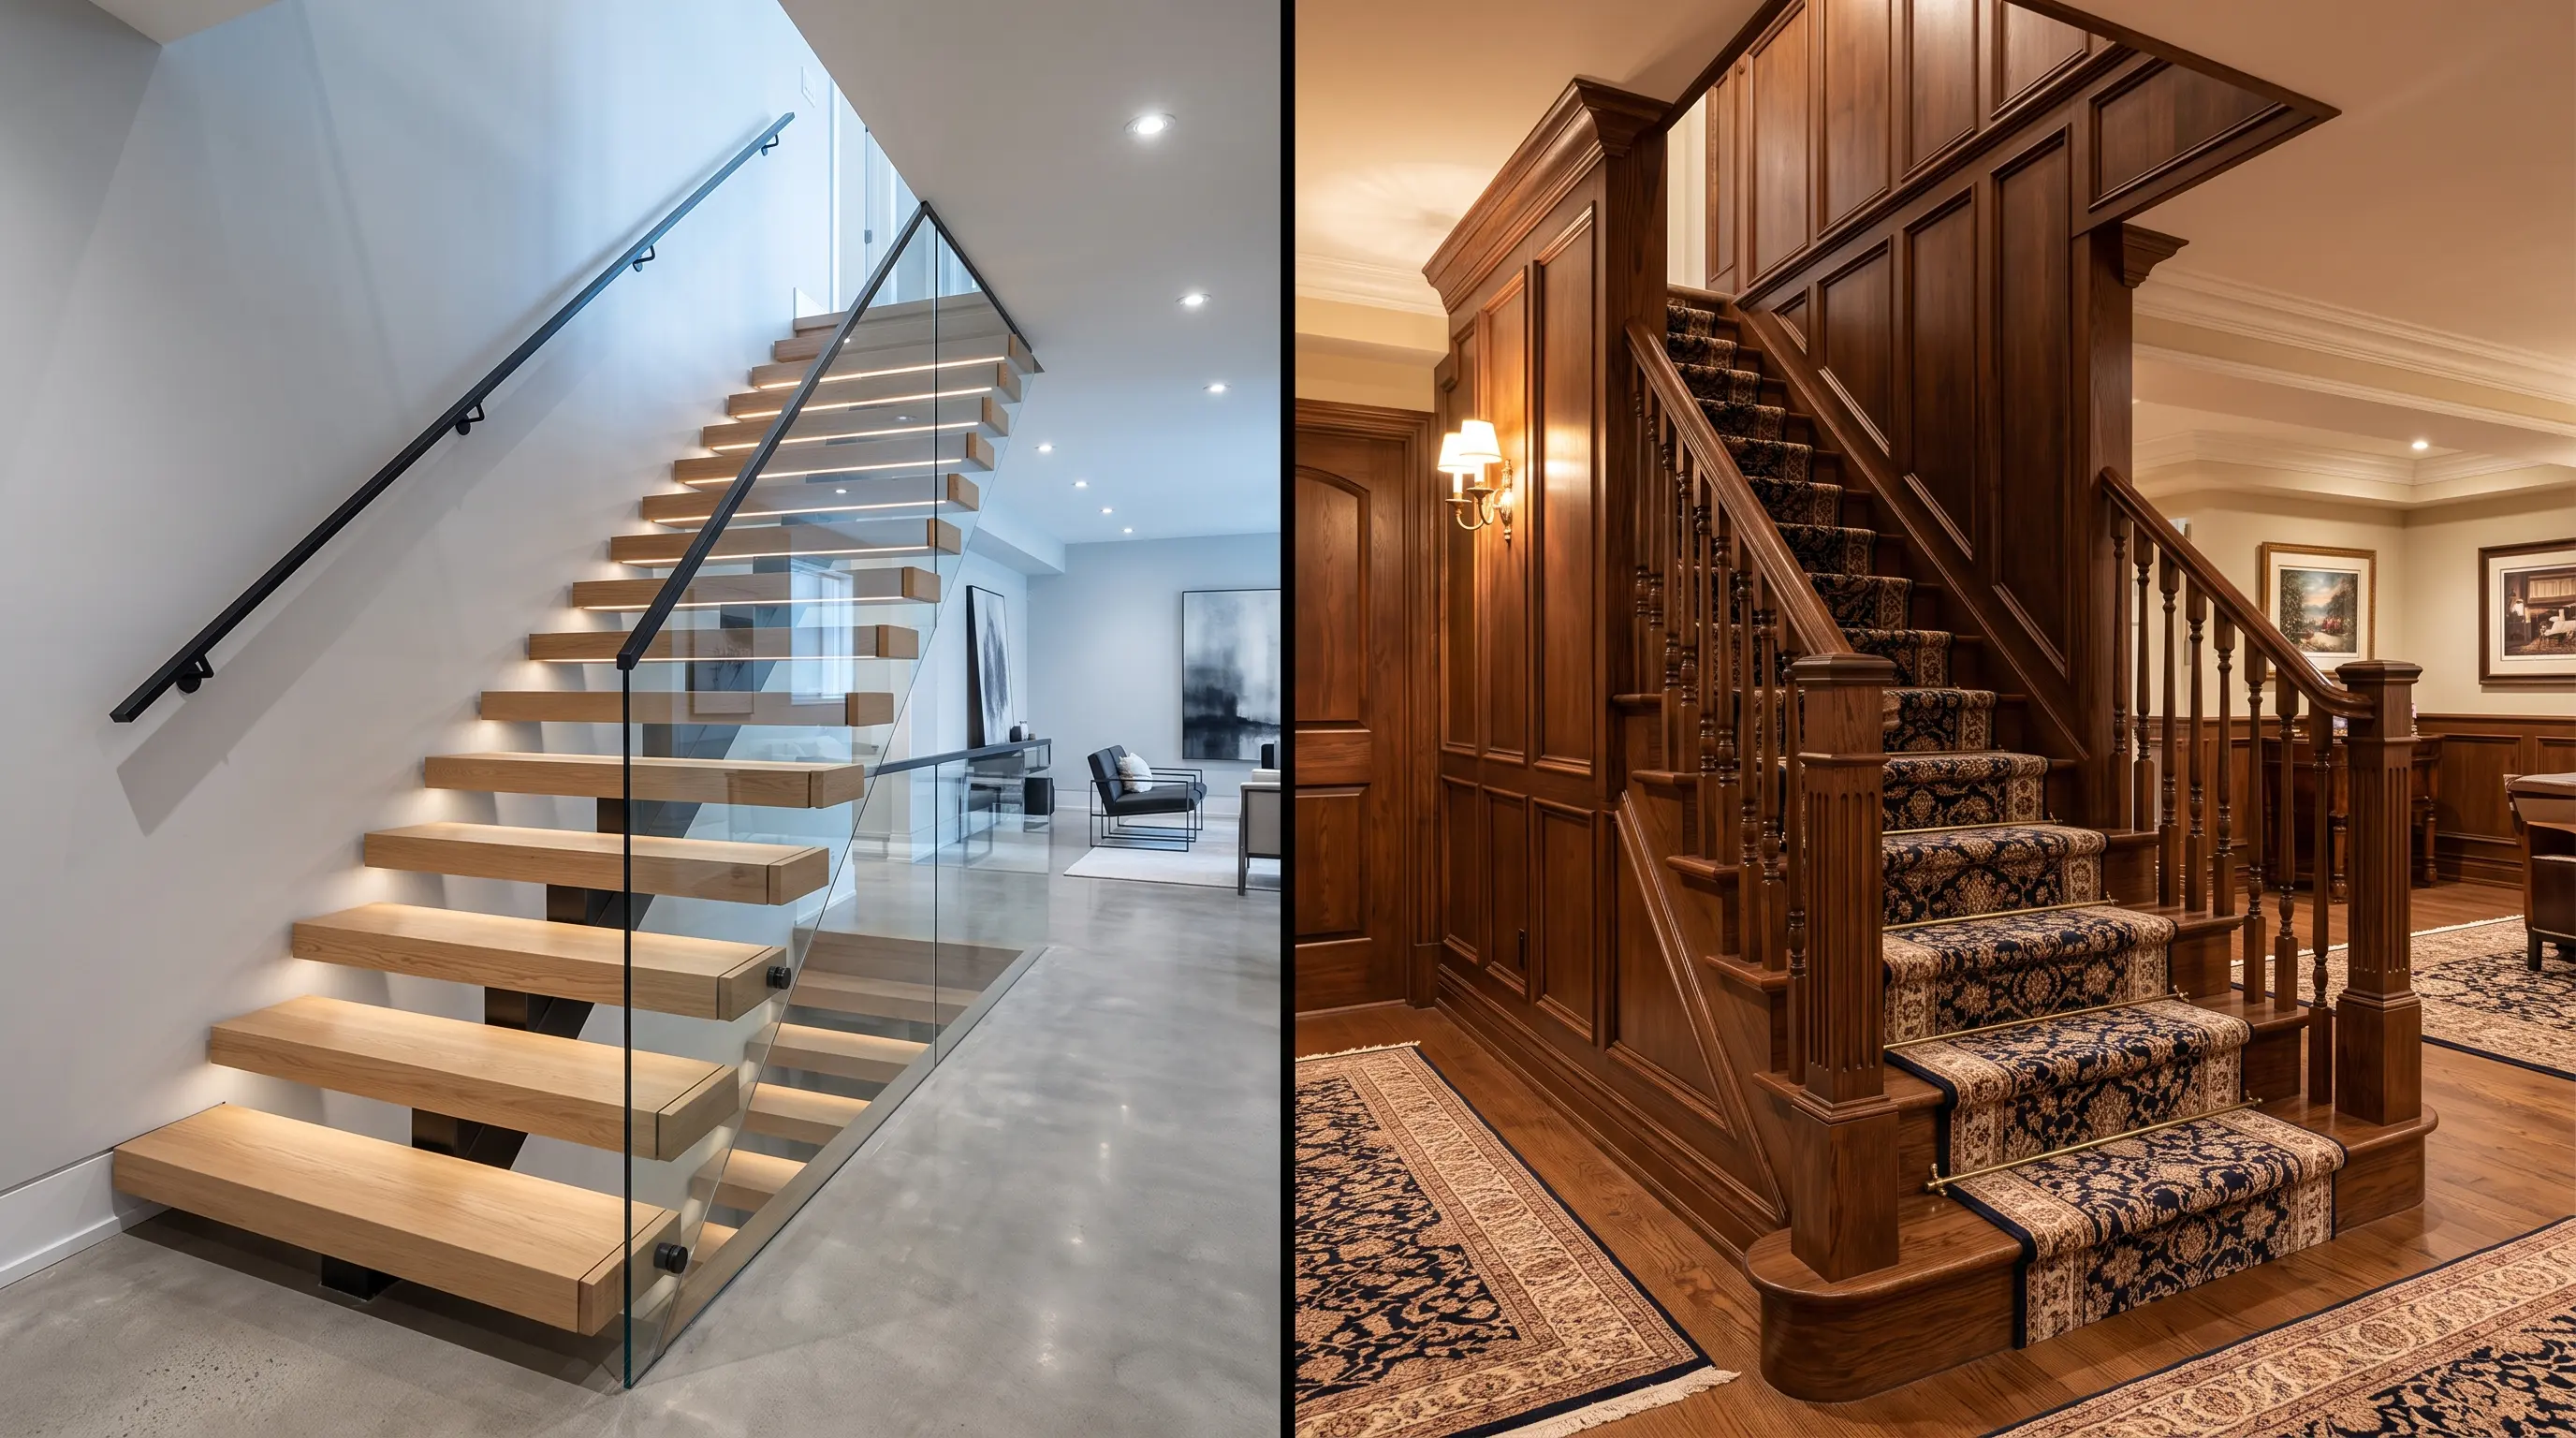
Your basement is probably the most versatile square footage you own. Whether it is an epic home theater, a cozy guest suite, or a home gym, the staircase leading to it shouldn't be an afterthought. A great staircase doesn't just connect two floors; it sets a mood and acts as a grand entrance to your entertainment zone.
Welcome to Vindy Space! Today, we are turning that neglected passage into a jaw-dropping architectural feature. Combining visionary interior design with highly actionable DIY advice, we have compiled the ultimate guide to stair renovations. From floating concrete treads to essential building safety codes, here are 18 highly professional basement stair design ideas to transform your home.
Table of Contents
- 1. Glass Panel Railings
- 2. Built-In Drawer Storage
- 3. LED Under-Tread Lighting
- 4. The Library Staircase
- 5. Industrial Metal and Cable Railings
- 6. Reclaimed Wood with a Live Edge
- 7. Integrated Plant Ledges
- 8. The Spiral Space-Saver
- 9. Concrete Treads with Blackened Steel
- 10. Carpeted Insets with Wood Borders
- 11. Geometric Wallpaper Accent
- 12. Painted Treads in a Bold Color
- 13. Statement Runner
- 14. The "Floating" Cantilevered Stair
- 15. Contrasting Risers
- 16. Stairway Gallery Wall
- 17. Wainscoting on the Stairwell Walls
- 18. Bright White with Natural Light
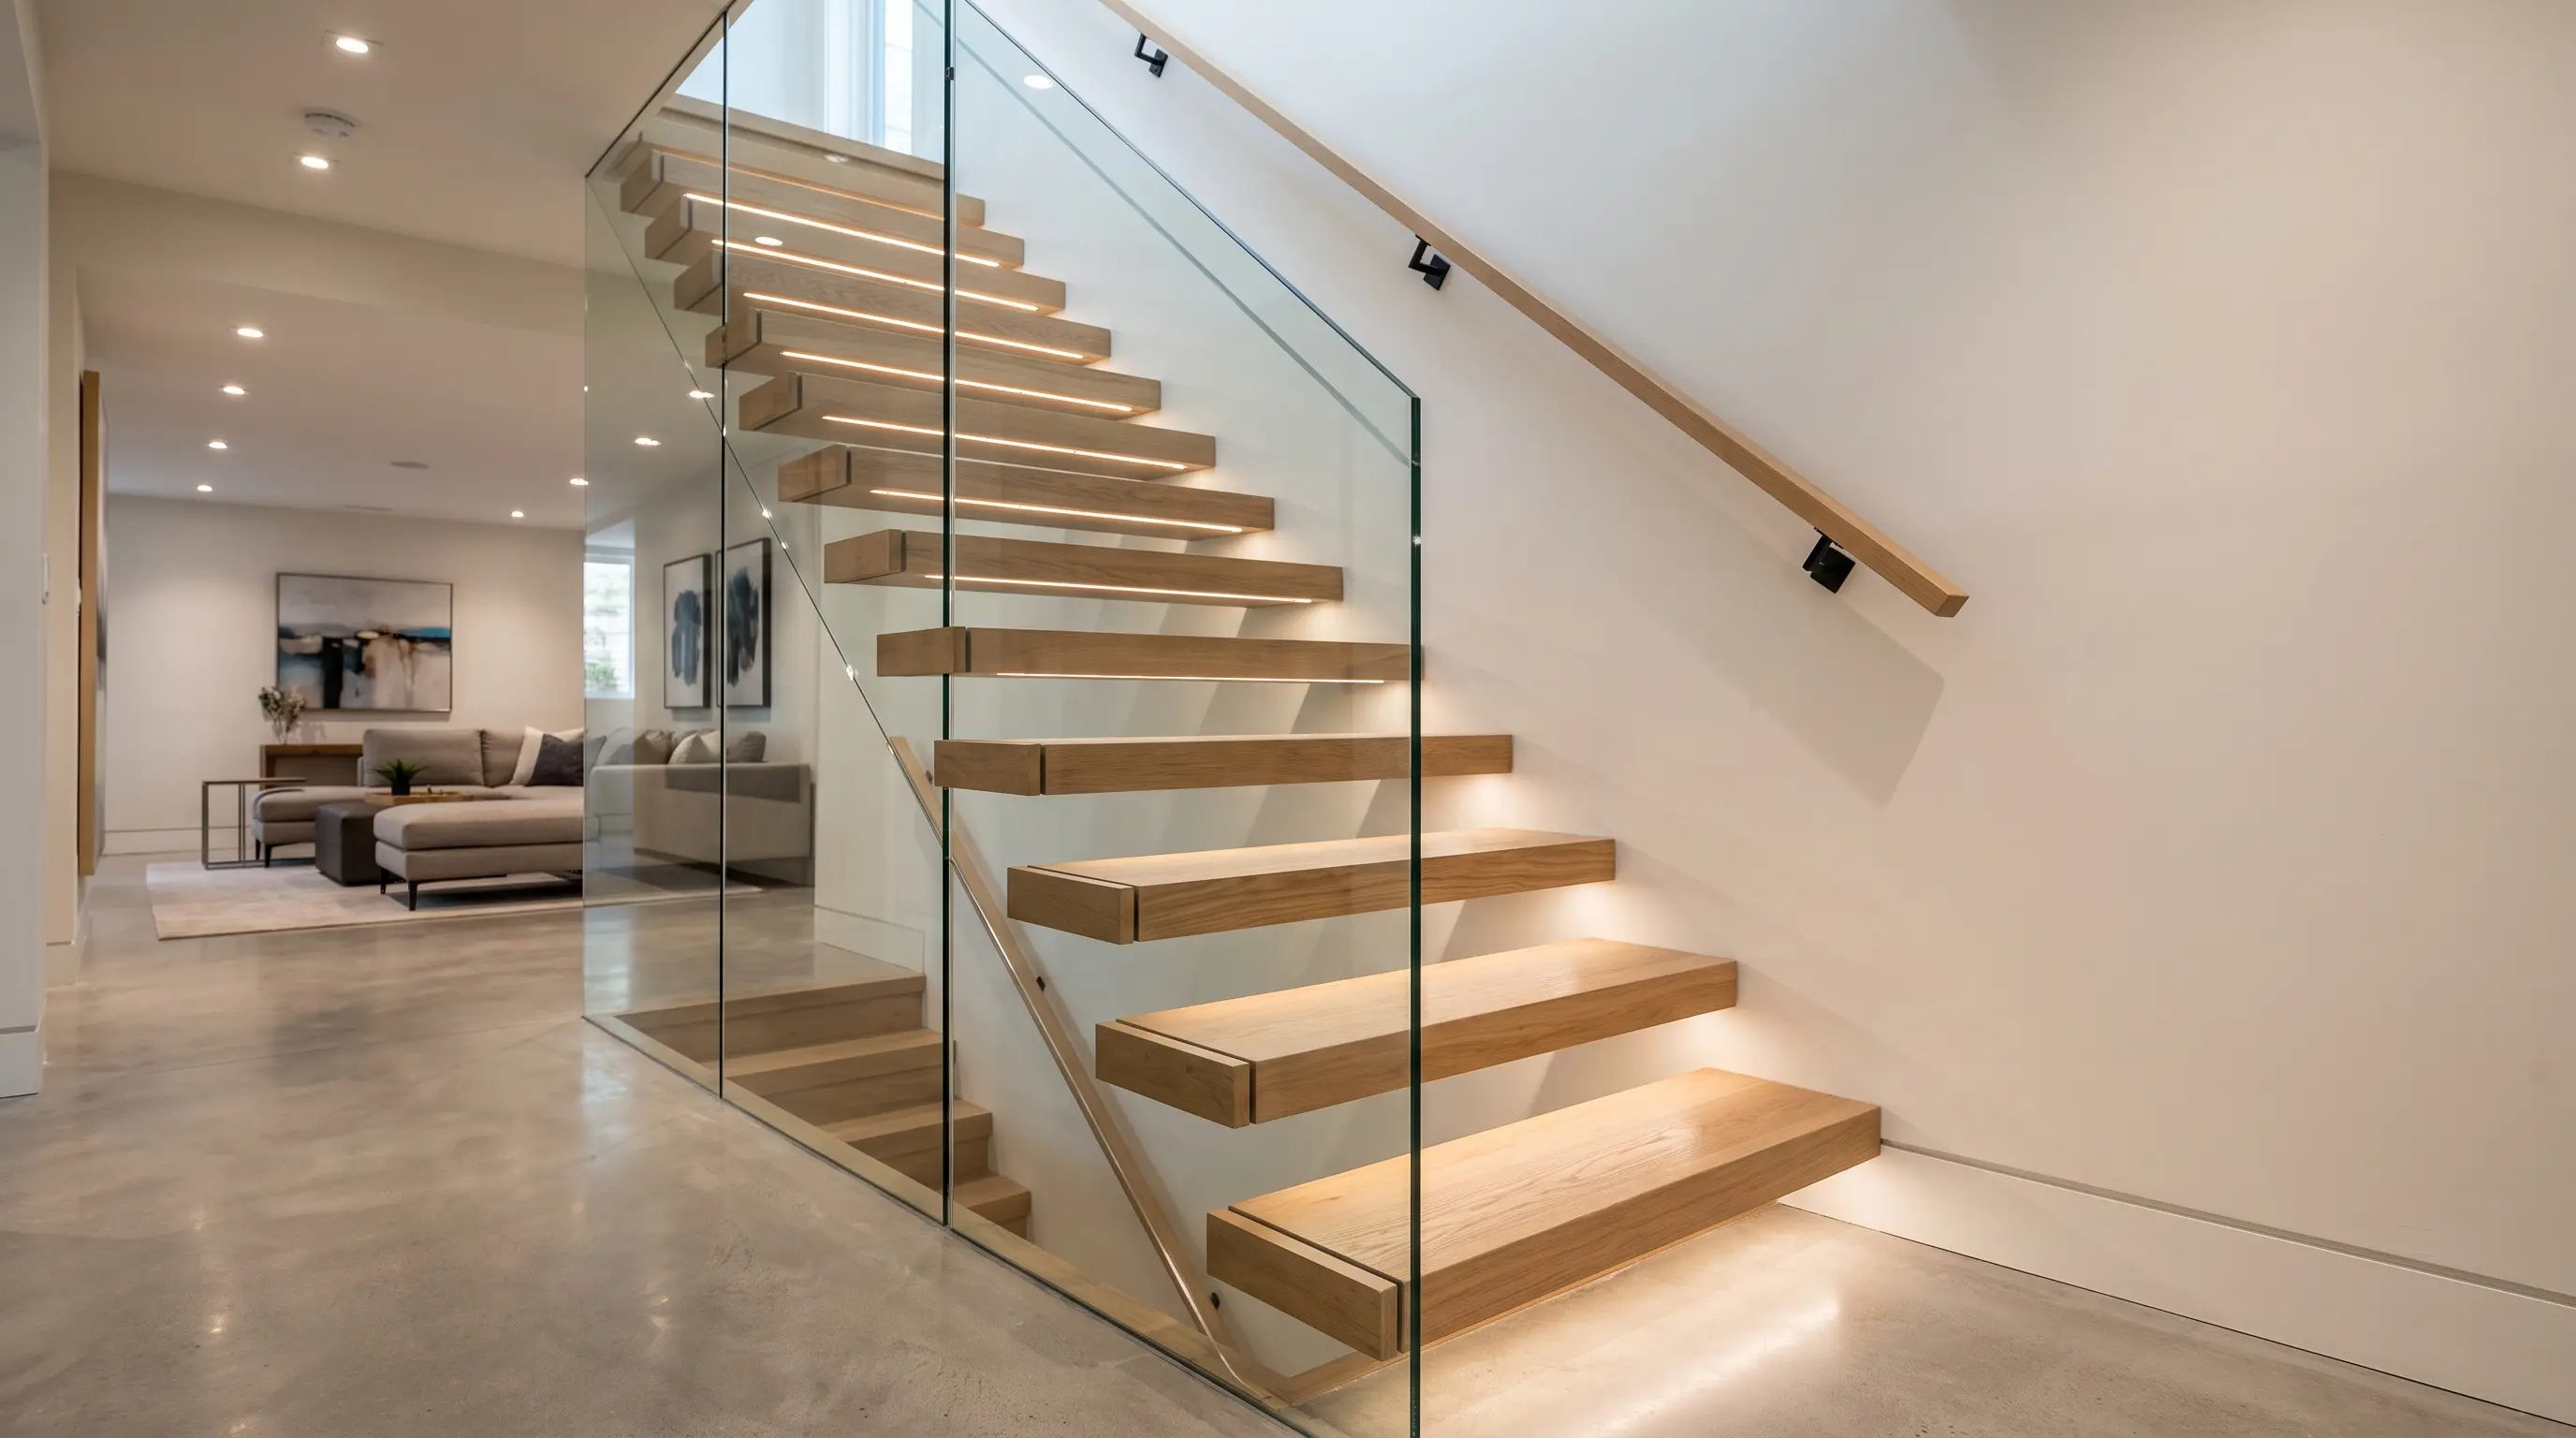
1. Glass Panel Railings
For the ultimate in openness and light flow, thick structural glass is the pinnacle of modern design.
- The Look: Traditional wooden spindles are replaced with sleek, tempered glass panels for your railing.
- Why it Works: It preserves sightlines, allowing light to flow freely, and makes an open-concept basement feel significantly larger.
- How to Style: Pair it with a clean, contemporary metal or light-wood handrail that lets your surrounding basement design ideas shine.
🛠️ Tools & Materials: Tempered architectural glass panels, heavy-duty stainless steel base clamps, laser level.
🧽 Maintenance: Wipe down weekly using a microfiber cloth and a streak-free glass cleaner to keep the invisible illusion intact.
⚠️ Mistakes & Safety Codes: Never use standard glass! Building codes strictly require shatterproof, tempered, or laminated safety glass for stairways.
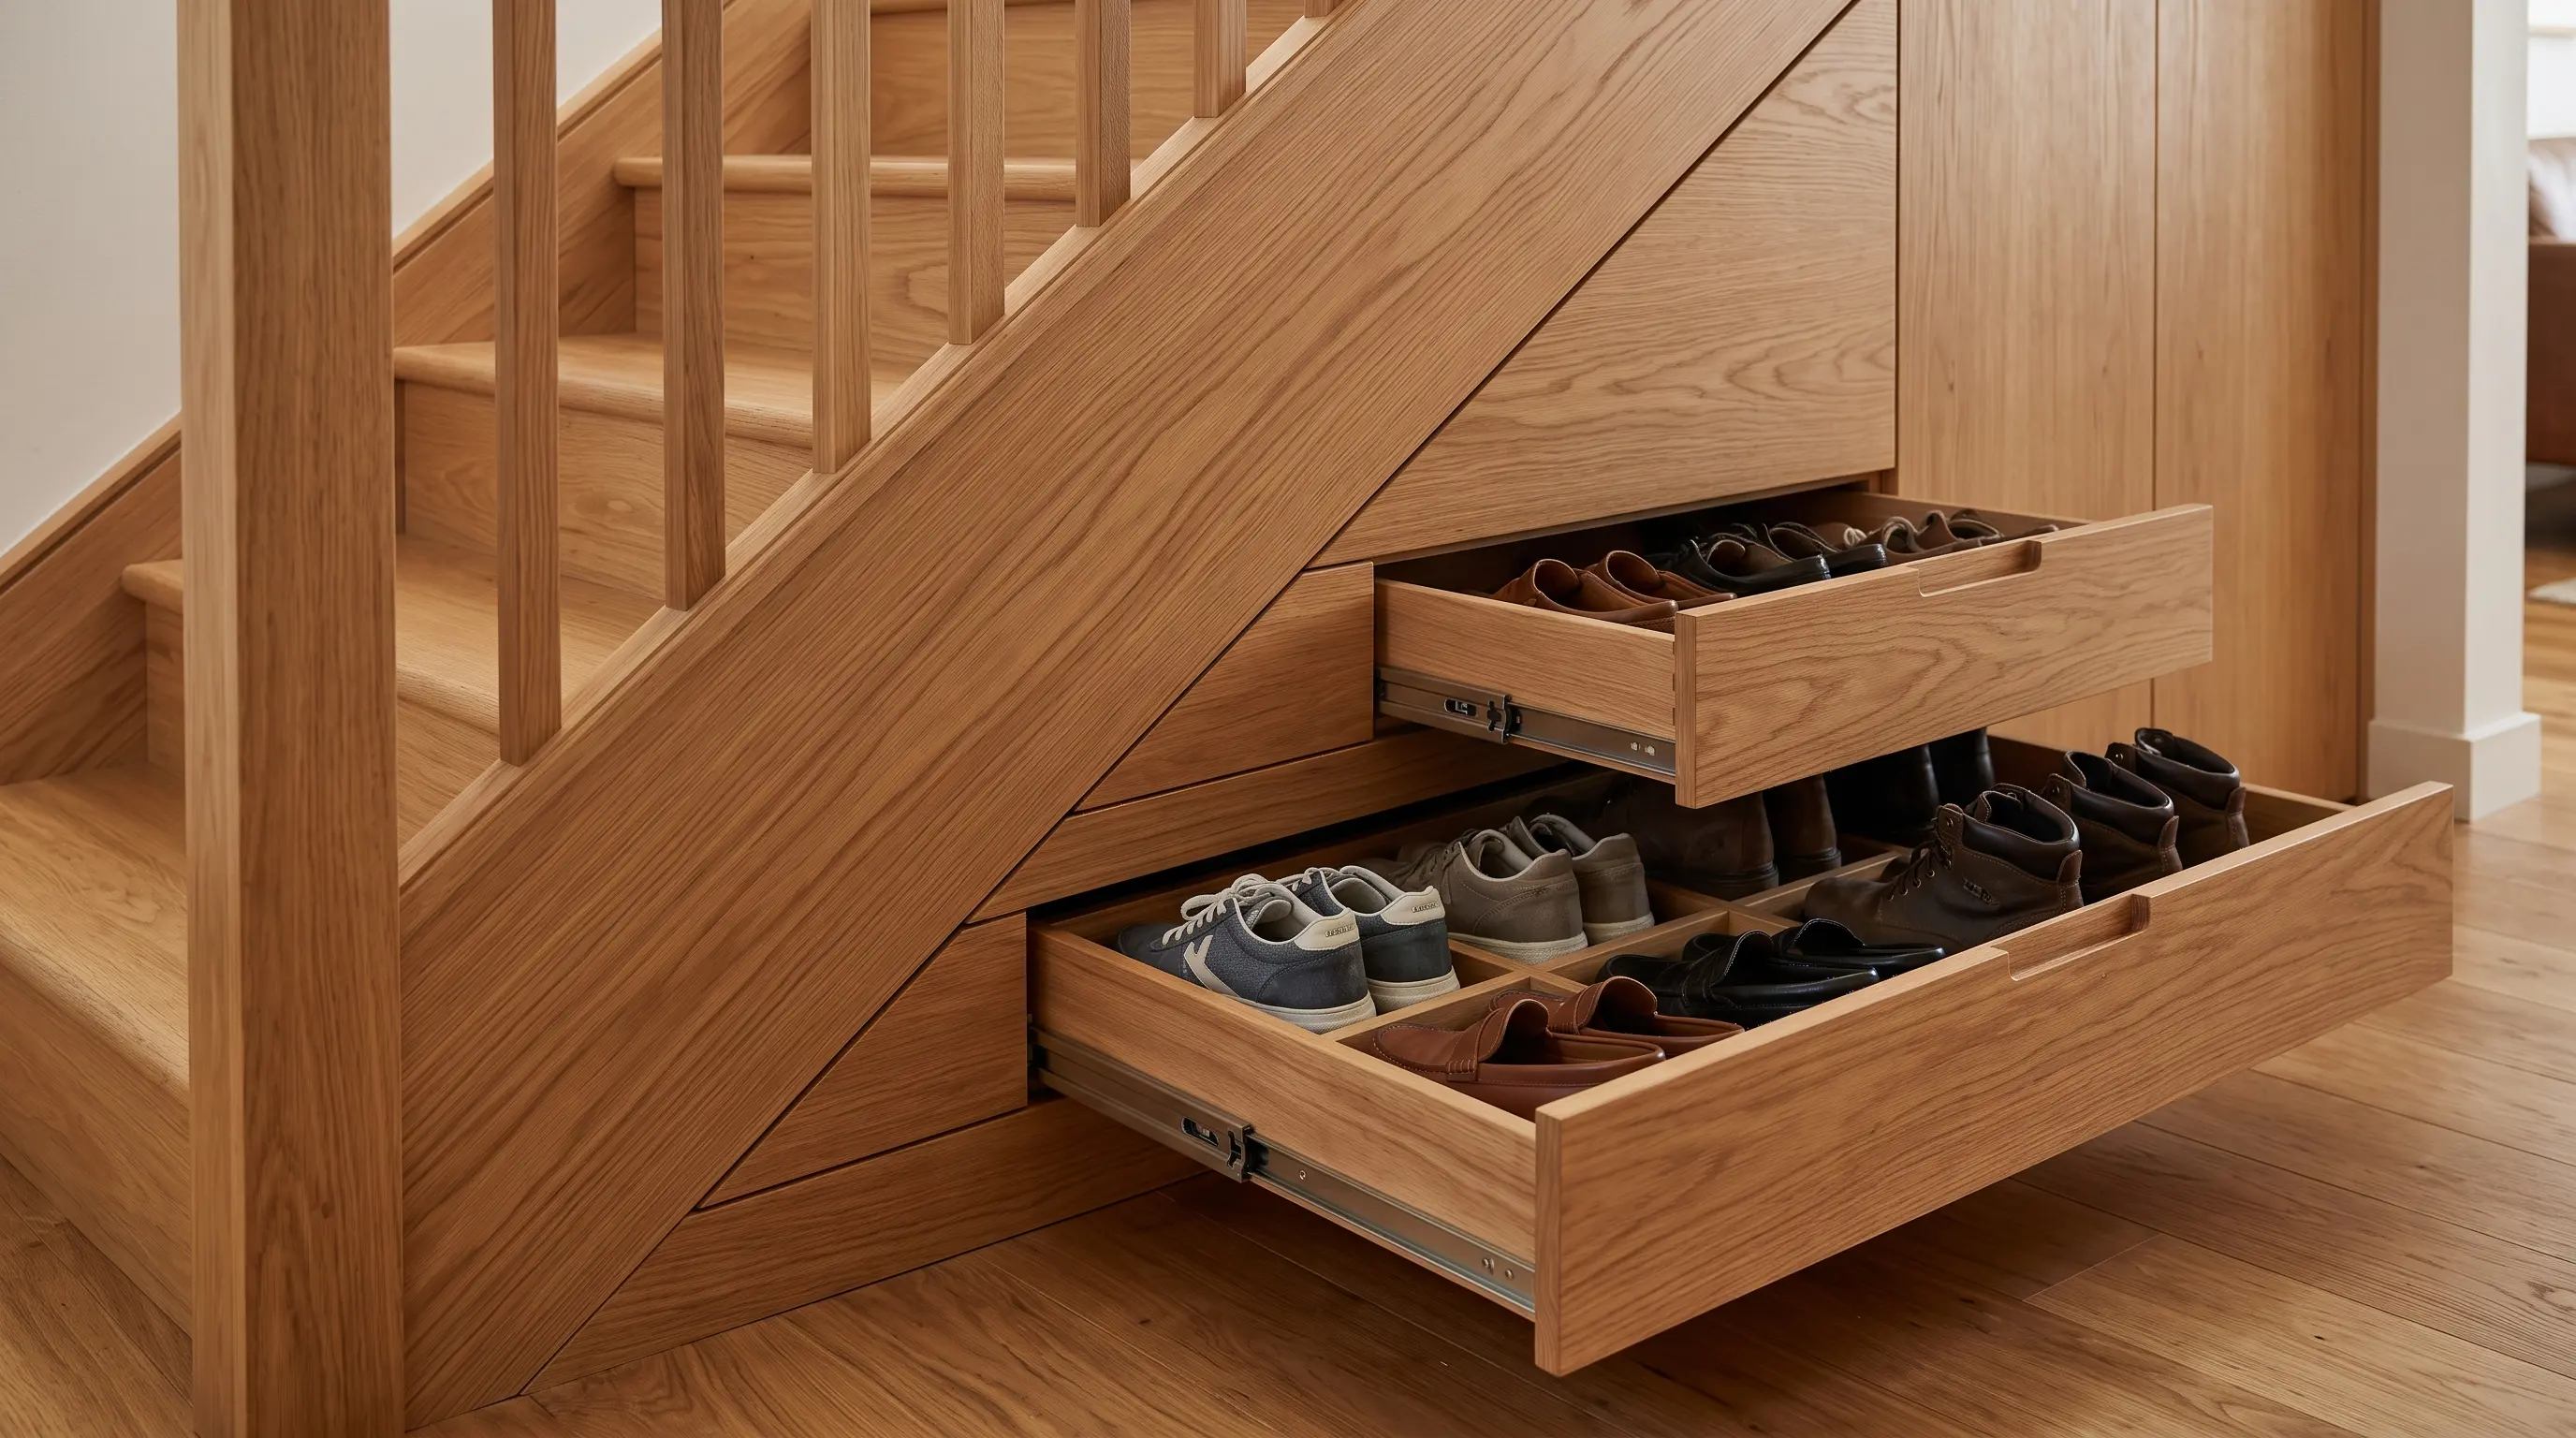
2. Built-In Drawer Storage
Maximize every inch of often-wasted space directly beneath your staircase.
- The Look: Seamless, shallow pull-out drawers built directly into the side of your stair stringers.
- Why it Works: It is a brilliant organizational hack ideal for storing shoes, board games, or seasonal holiday decor entirely out of sight.
- How to Style: Use hidden push-to-open magnetic latches so the drawers blend flawlessly into the architecture when closed.
🛠️ Tools & Materials: Plywood, heavy-duty drawer slides, magnetic push-latches, circular saw.
🧽 Maintenance: Vacuum the internal sliding tracks every few months to prevent dust buildup from jamming the wheels.
⚠️ Mistakes & Safety Codes: Do not cut into the main structural stringer holding the stairs up! Only utilize the hollow cavity space.
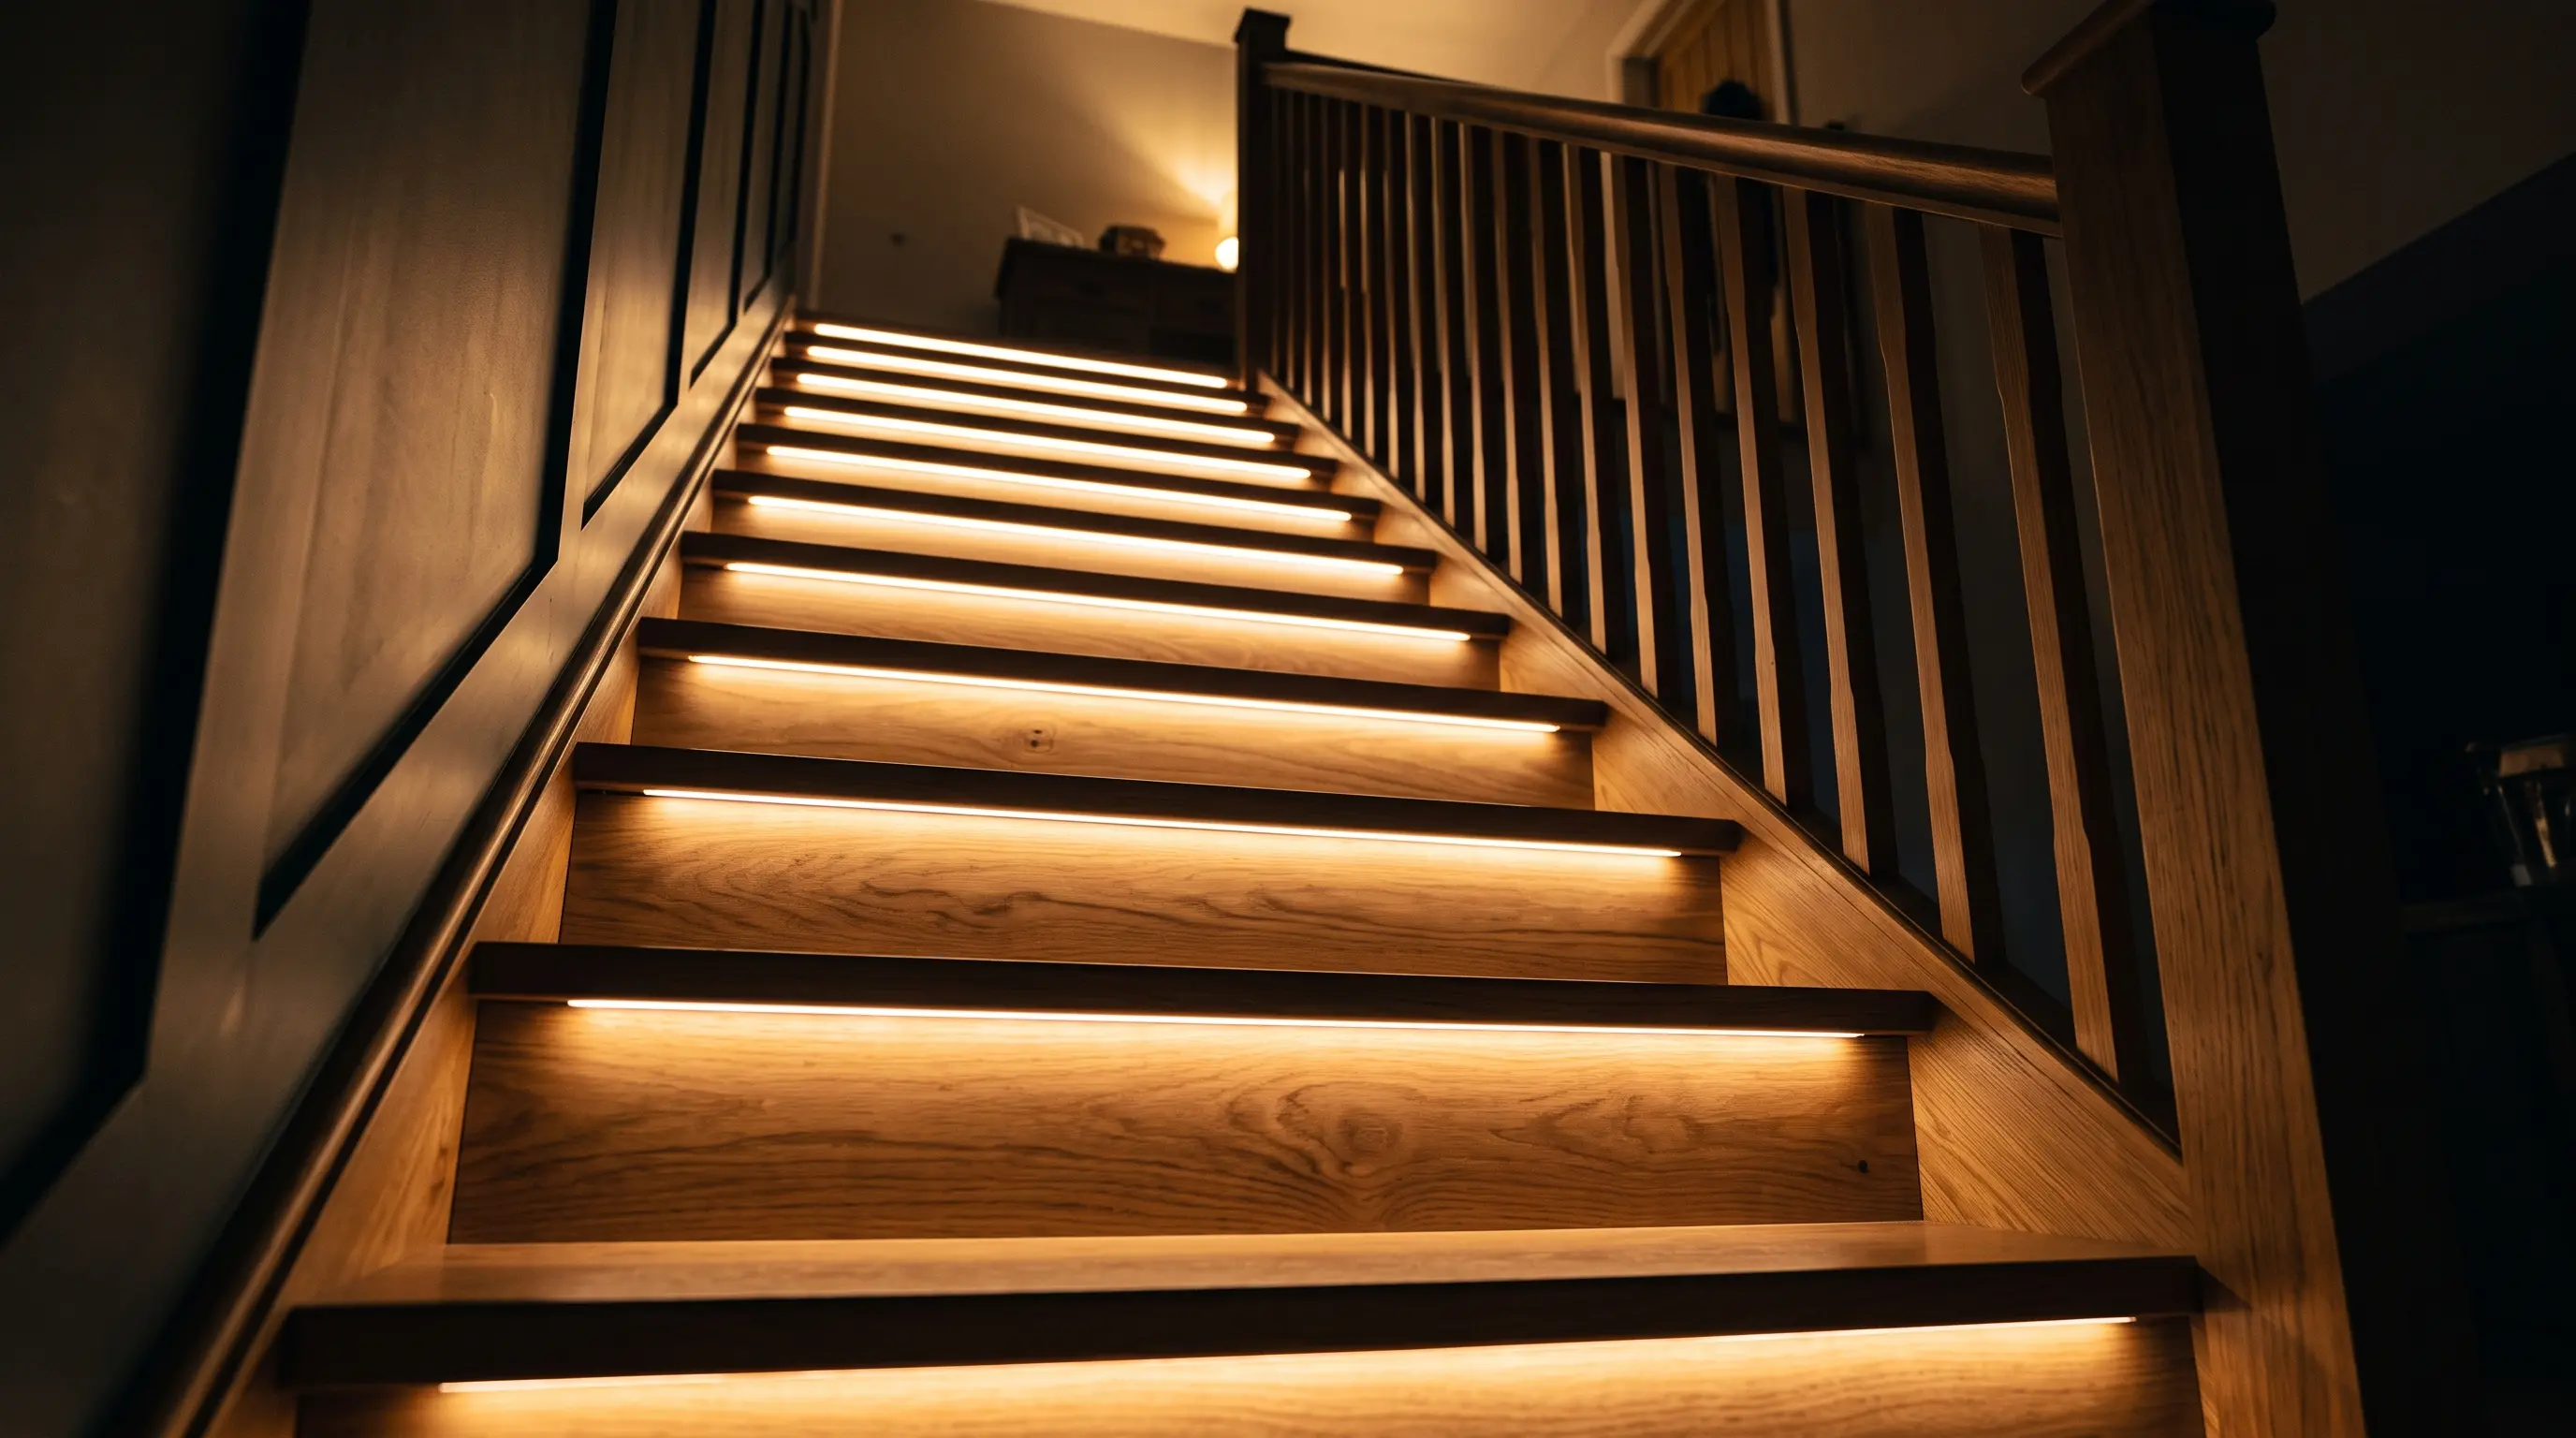
3. LED Under-Tread Lighting
Navigating basement stairs at night can be dangerous, but lighting doesn't have to be boring.
- The Look: Subtle LED strip lighting installed underneath the lip of each tread or along the baseboard.
- Why it Works: It creates an ambient glow that makes the staircase itself a light source, while producing an ultra-modern "floating" effect.
- How to Style: Eliminate shadows by combining these under-tread strips with a bright overhead light at the top and bottom of the stairs.
🛠️ Tools & Materials: IP65-rated LED strip lights, aluminum mounting channels with frosted diffusers, smart motion-sensor hub.
🧽 Maintenance: Wipe the frosted plastic diffusers occasionally; exposed bulbs attract heavy dust.
⚠️ Mistakes & Safety Codes: Never stick bare LED strips under the wood. The ugly individual LED dots will reflect off the glossy stair tread below.
4. The Library Staircase
Turn a mundane passage into a charming home library annex.
- The Look: A floor-to-ceiling bookshelf built directly into the wall alongside your staircase.
- Why it Works: Following the stair’s slope creates dynamic shelving that holds books, display objects, and baskets, adding incredible character.
- How to Style: Paint the bookshelves the exact same color as the surrounding walls for a high-end, seamless built-in look.
🛠️ Tools & Materials: MDF or plywood boards, L-brackets, stud finder, wood filler.
🧽 Maintenance: Use a static duster weekly; open shelves on a high-traffic staircase accumulate dust rapidly.
⚠️ Mistakes & Safety Codes: Building codes strictly require a minimum headroom clearance of exactly 80 inches. Do not build shelves that protrude into this required walking space!

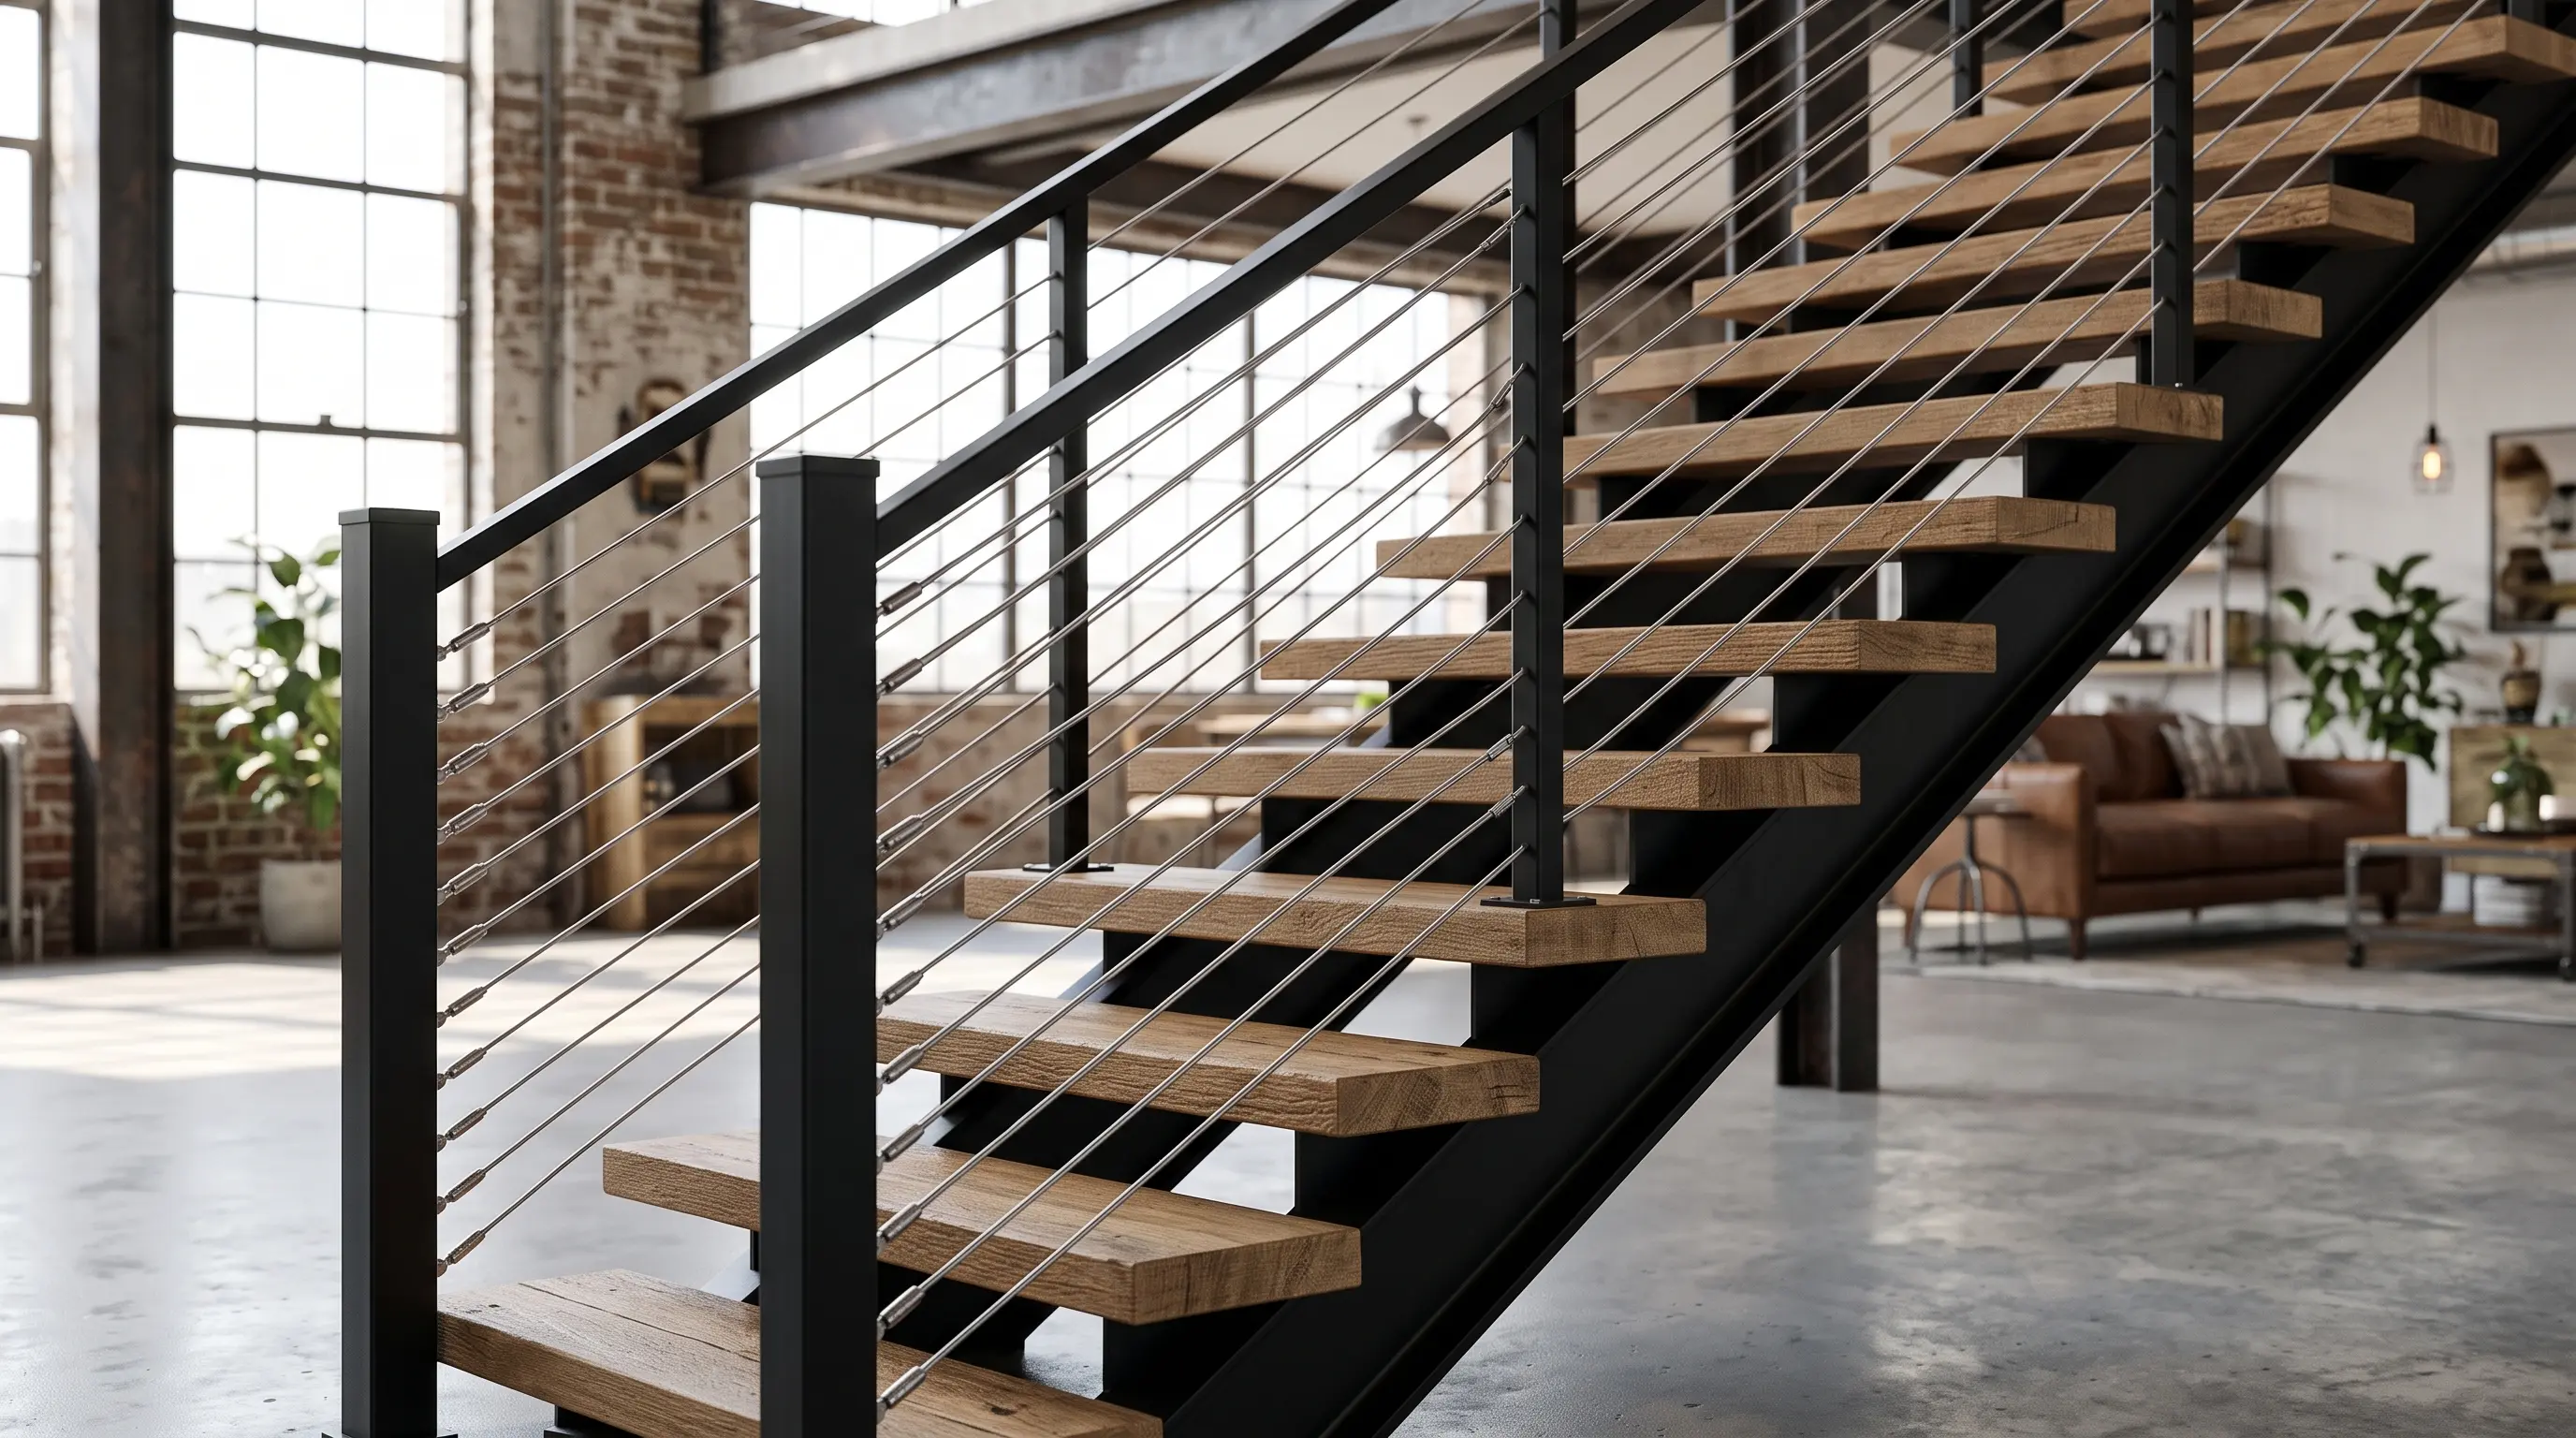
5. Industrial Metal and Cable Railings
Swap out bulky wooden balusters for a sleek, visually light aesthetic.
- The Look: Thin, horizontally strung black metal rods or sleek metal cables replacing traditional vertical spindles.
- Why it Works: This industrial-style railing is incredibly durable, modern, and creates a loft-like vibe perfect for celebrating raw materials.
- How to Style: It pairs exceptionally well with reclaimed wood treads or a concrete feature wall.
🛠️ Tools & Materials: Stainless steel cable wire, turnbuckle tensioners, heavy-duty drill.
🧽 Maintenance: Wipe cables with a damp cloth. Check tension annually.
⚠️ Mistakes & Safety Codes: Metal cables stretch over time. You must tighten them yearly. Balusters (or cables) must be spaced no more than 4 inches apart to prevent children from slipping through.
6. Reclaimed Wood with a Live Edge
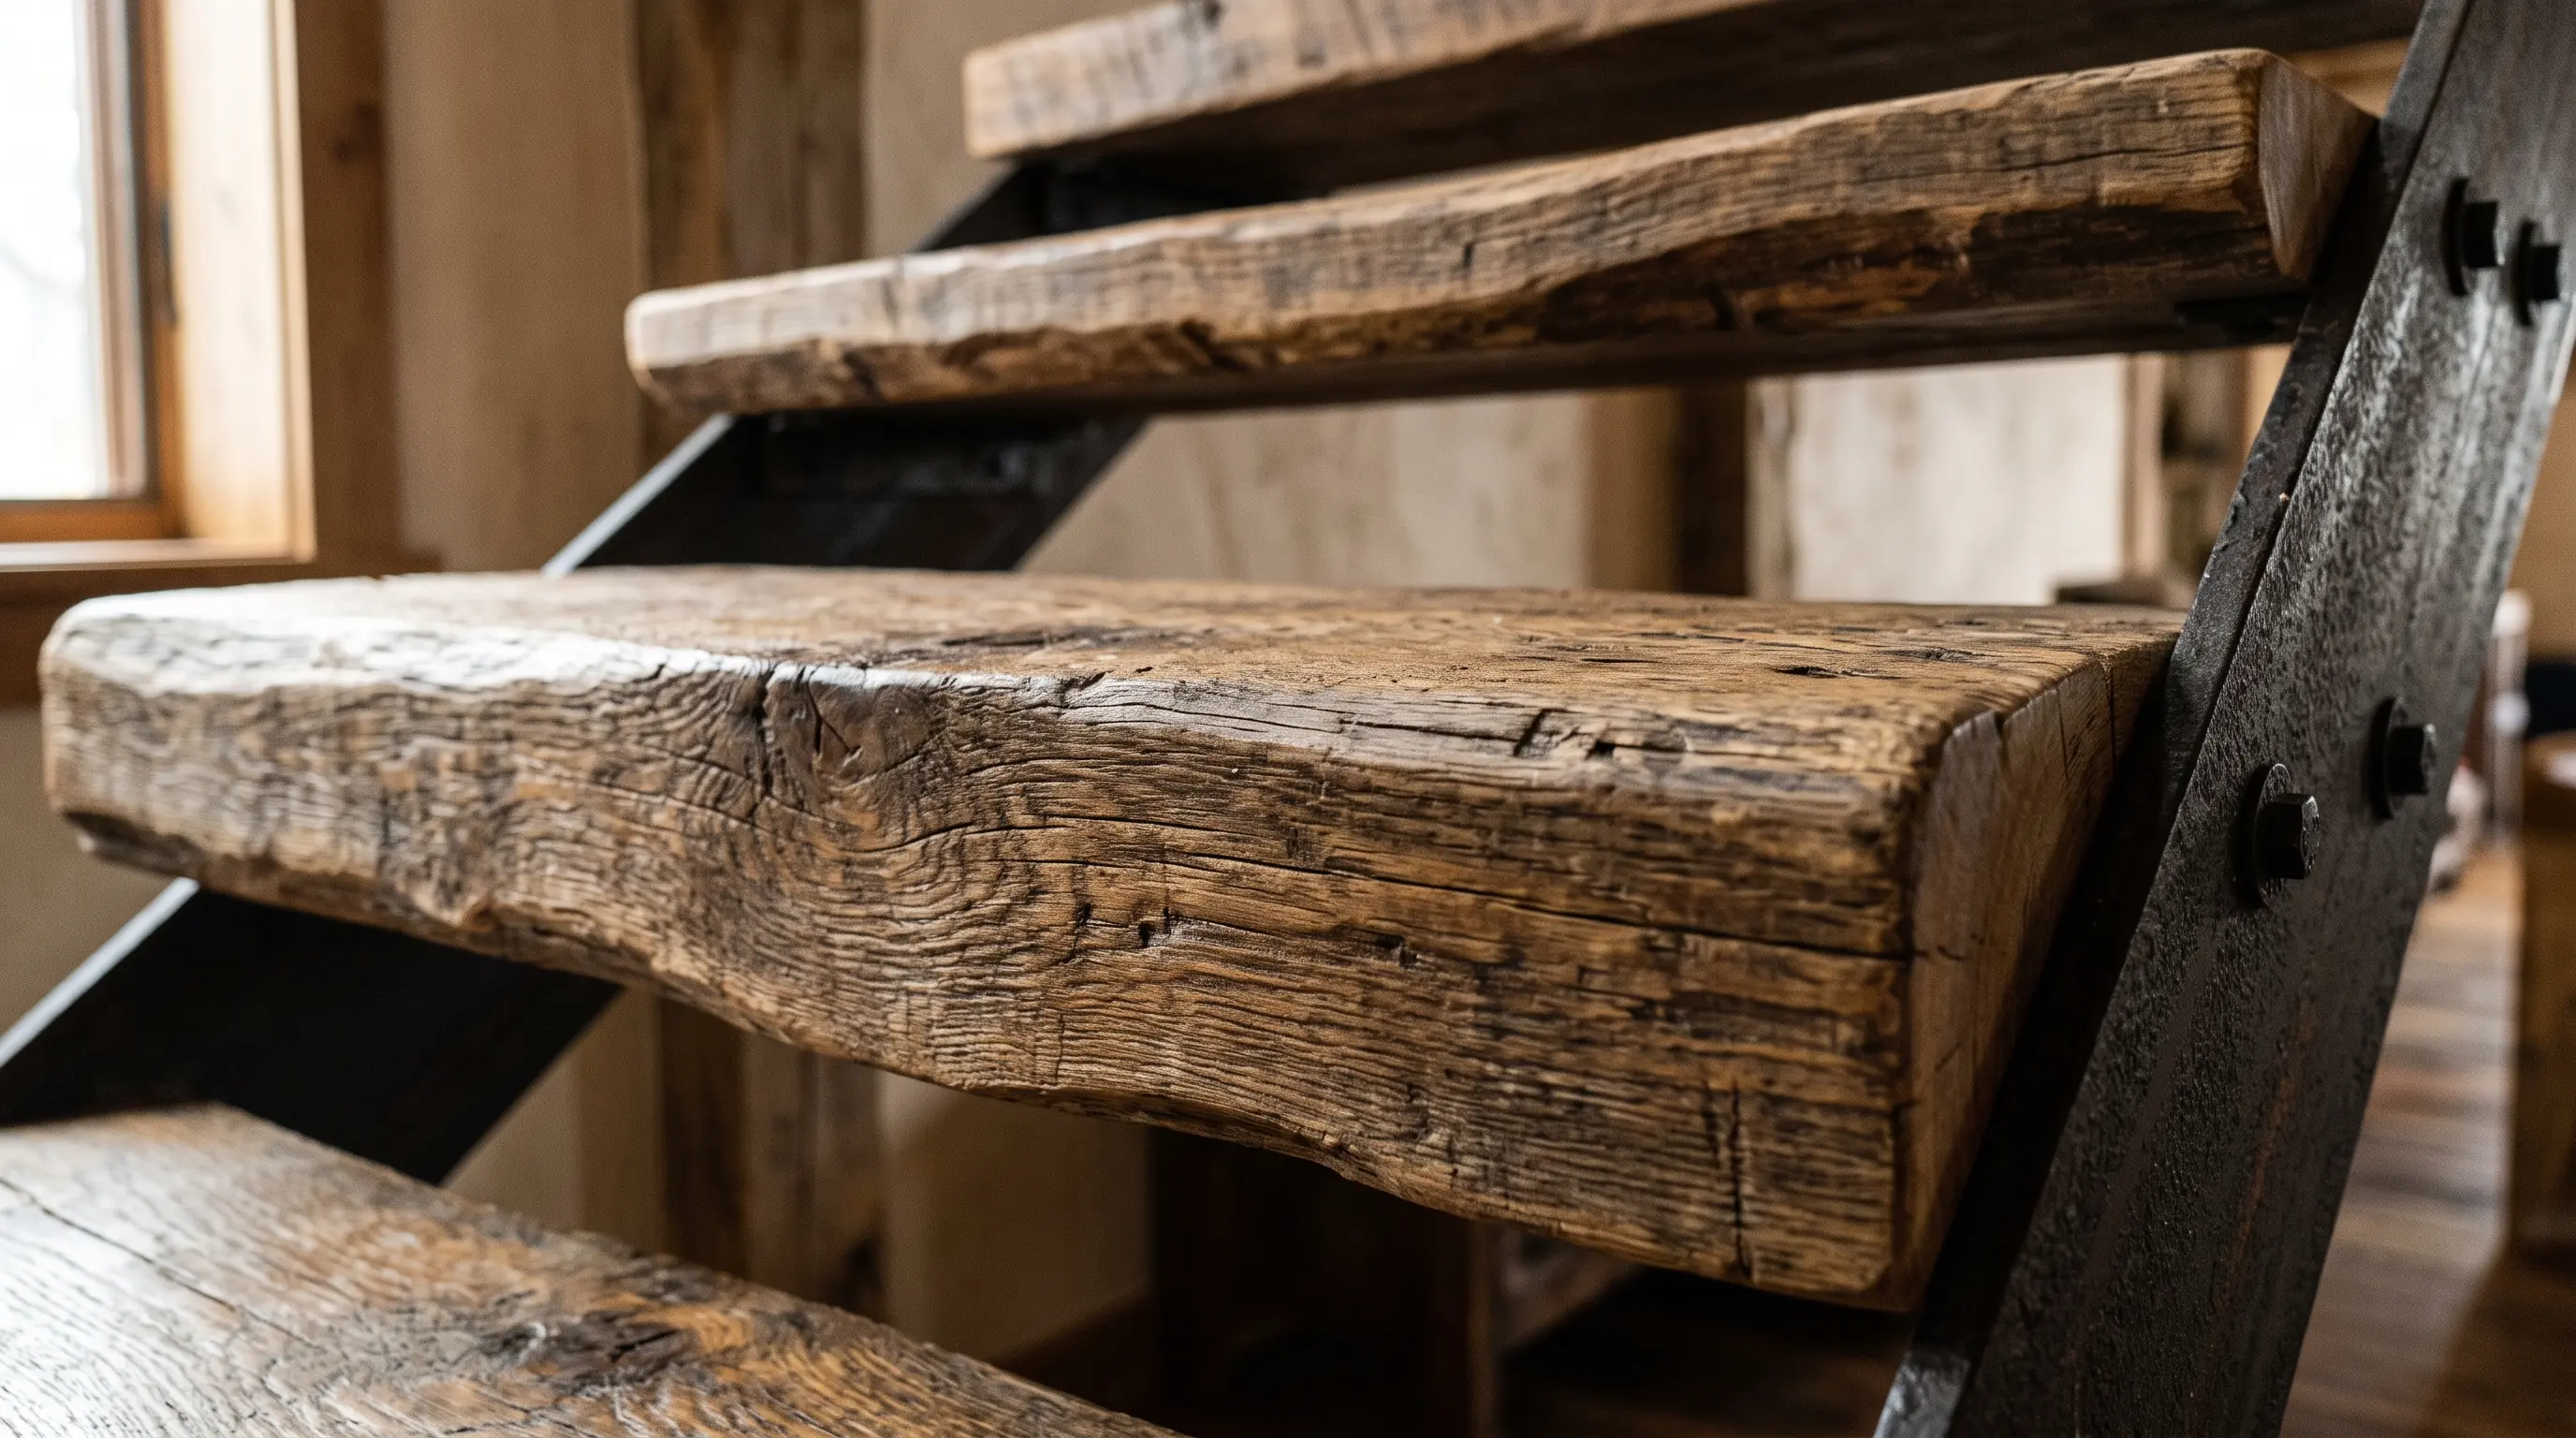
Bring warmth and a cozy, rustic aesthetic to your lower level.
- The Look: Stair treads made from reclaimed barn wood or thick planks with a natural, live edge.
- Why it Works: Each step becomes a unique piece of art, full of natural character, knots, and history.
- How to Style: This is the perfect entry point for a cozy, rustic living room or a basement pub.
🛠️ Tools & Materials: Reclaimed live-edge wood, polyurethane floor sealant, heavy-duty screws.
🧽 Maintenance: Reseal the wood every few years to protect it from moisture and heavy foot traffic.
⚠️ Mistakes & Safety Codes: Squeaky stairs are often caused by loose treads rubbing. Secure them tightly with screws from below, never with nails.
7. Integrated Plant Ledges
Bring life and organic personality to your descent.
- The Look: Shallow ledges or recessed niches incorporated directly into the stairwell wall at various heights.
- Why it Works: These become the perfect perches for a cascading pothos, a series of small succulents, or curated art objects.
- How to Style: Install small, battery-operated LED puck lights at the top of each niche to dramatically spotlight your plants at night.
🛠️ Tools & Materials: Drywall saw, corner beads, joint compound, small wooden shelves.
🧽 Maintenance: Ensure your pots have drip trays! Water damage on drywall niches will cause peeling paint and mold.
⚠️ Mistakes & Safety Codes: Do not cut into load-bearing wall studs to create niches. Only cut into the hollow drywall cavities between the studs.

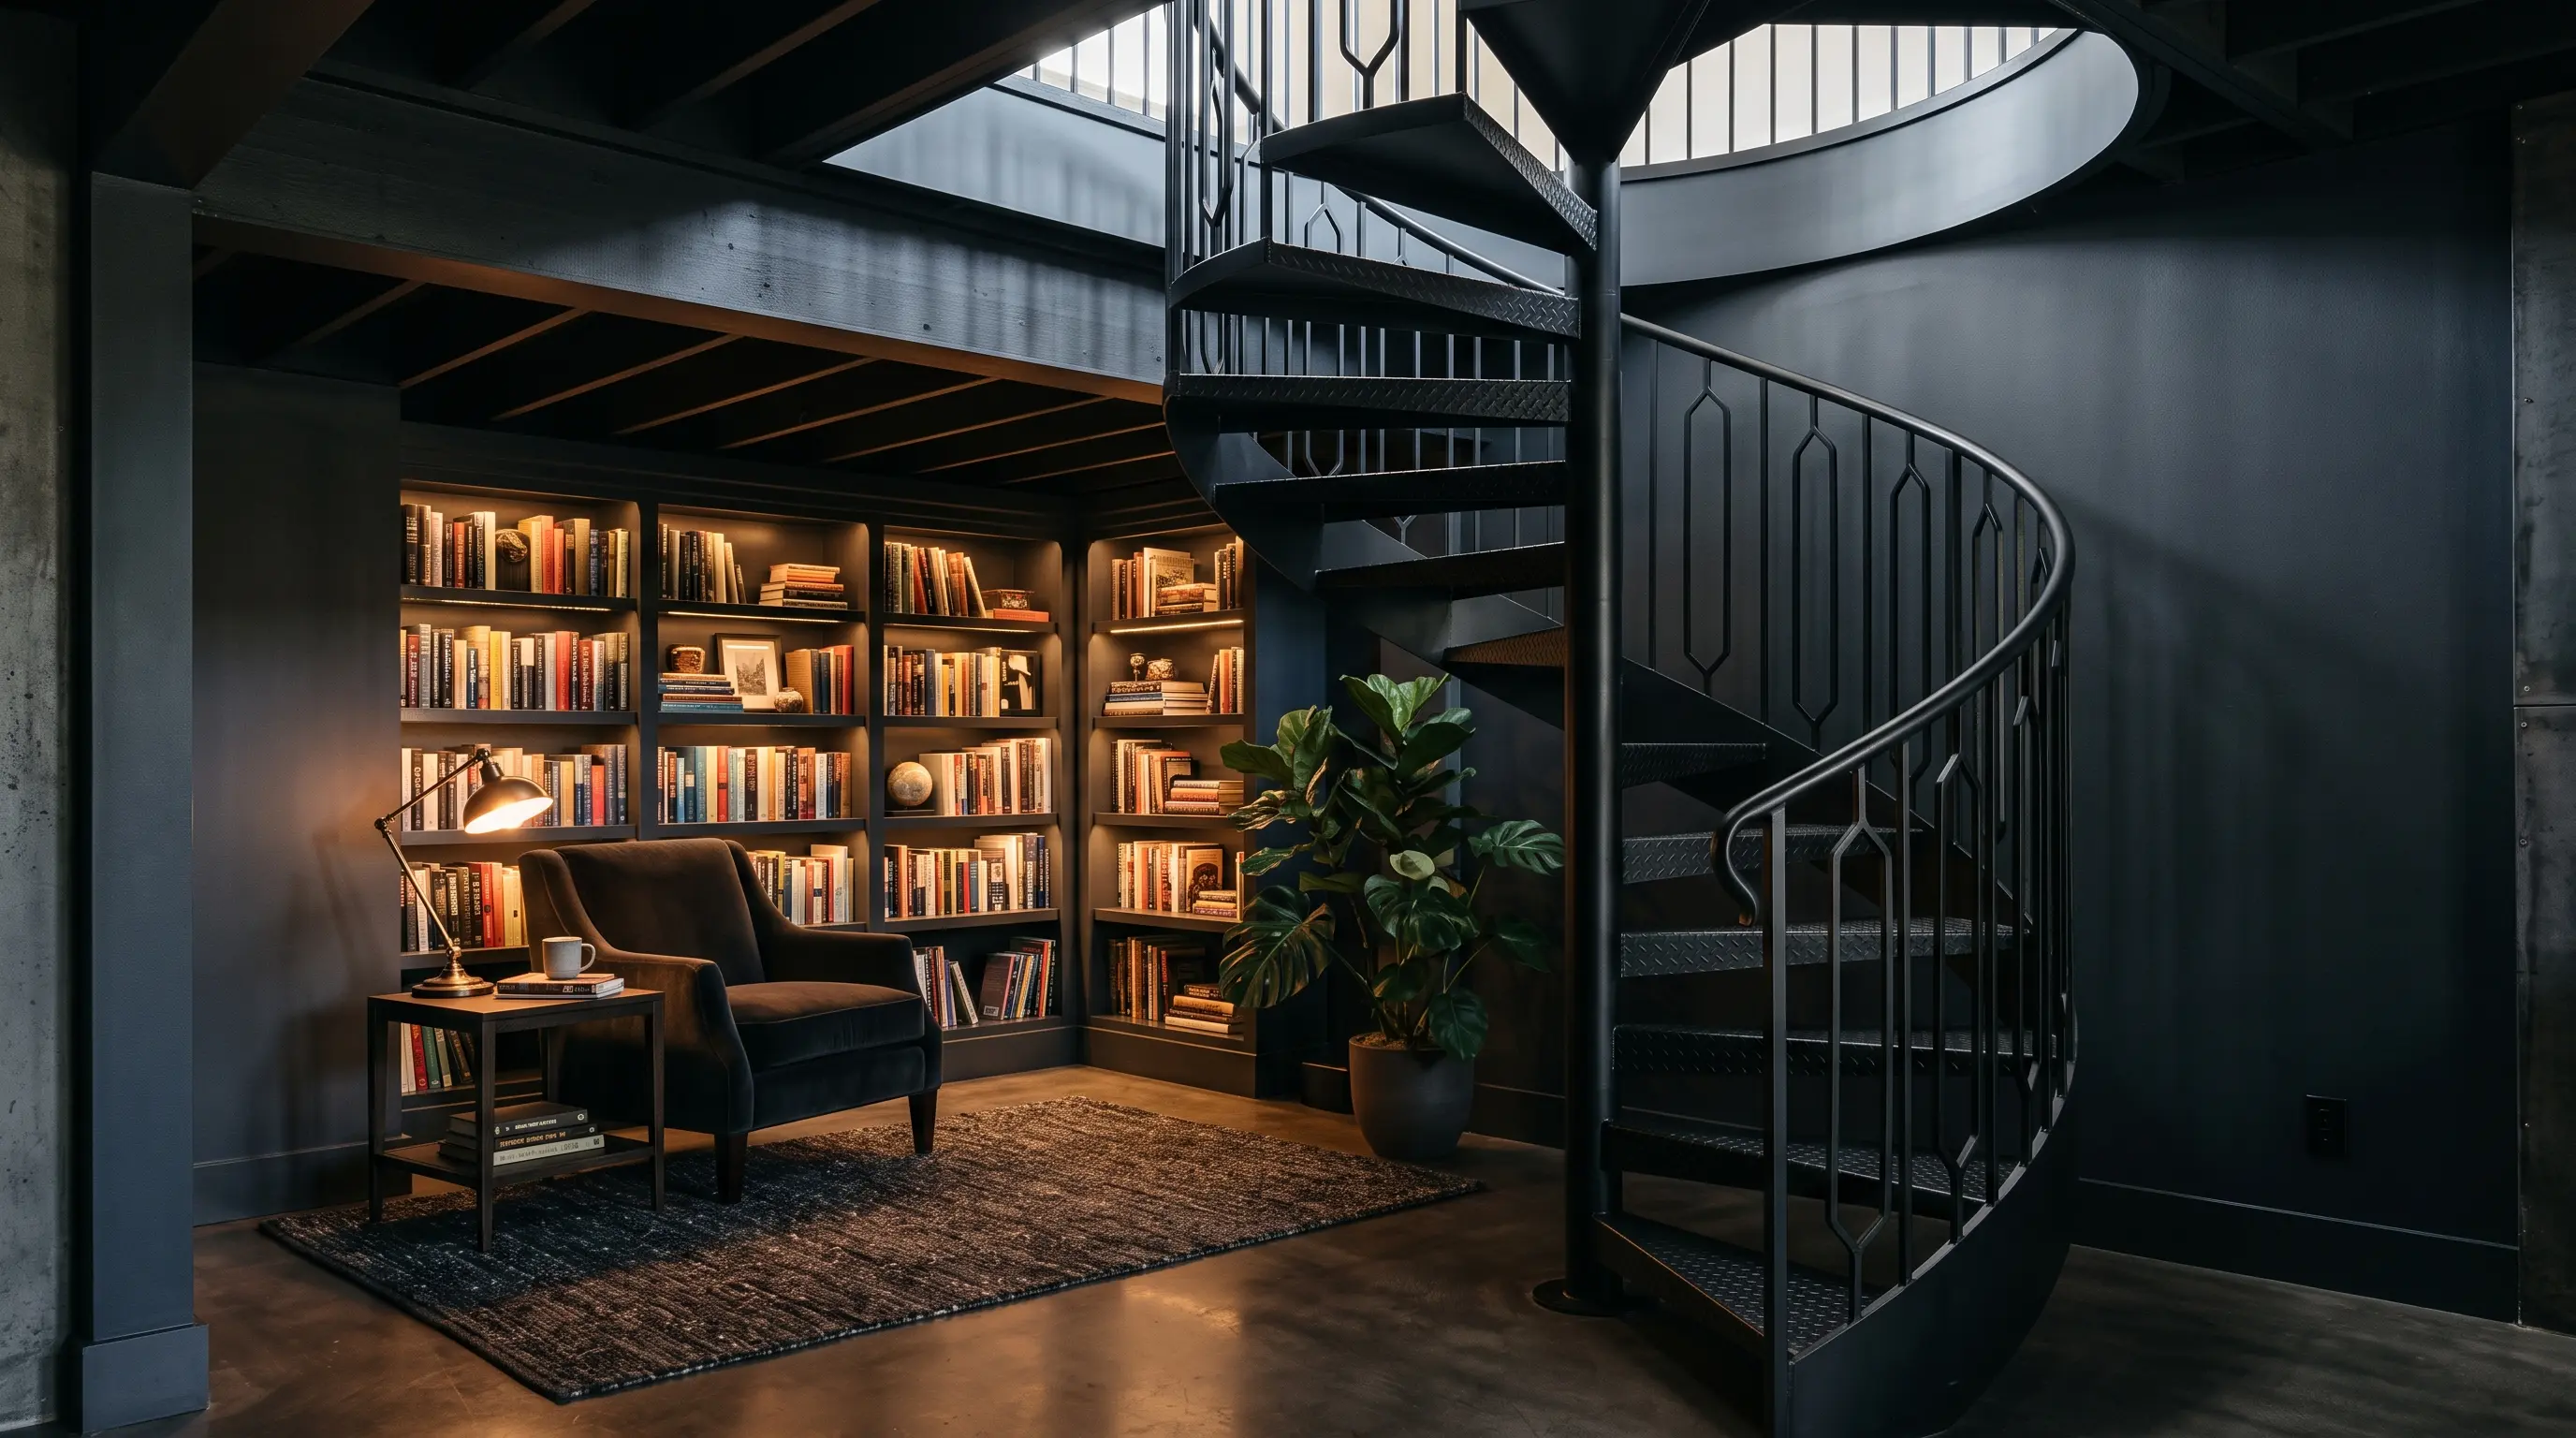
8. The Spiral Space-Saver
If floor space is extremely limited, go sculptural.
- The Look: A compact metal or wooden spiral staircase connecting the main floor to the basement.
- Why it Works: While not ideal for moving large furniture, it makes a dramatic architectural feature and is a highly space-efficient solution.
- How to Style: This is perfect for accessing a moody basement wine cellar or a quiet, secluded reading nook.
🛠️ Tools & Materials: Prefabricated spiral stair kit, heavy-duty floor anchors.
🧽 Maintenance: Dust the central pole frequently, as handprints will naturally accumulate there.
⚠️ Mistakes & Safety Codes: Any change to the stair’s structure, pitch, or footprint (like creating a spiral stair) requires a licensed contractor and permits.
9. Concrete Treads with Blackened Steel
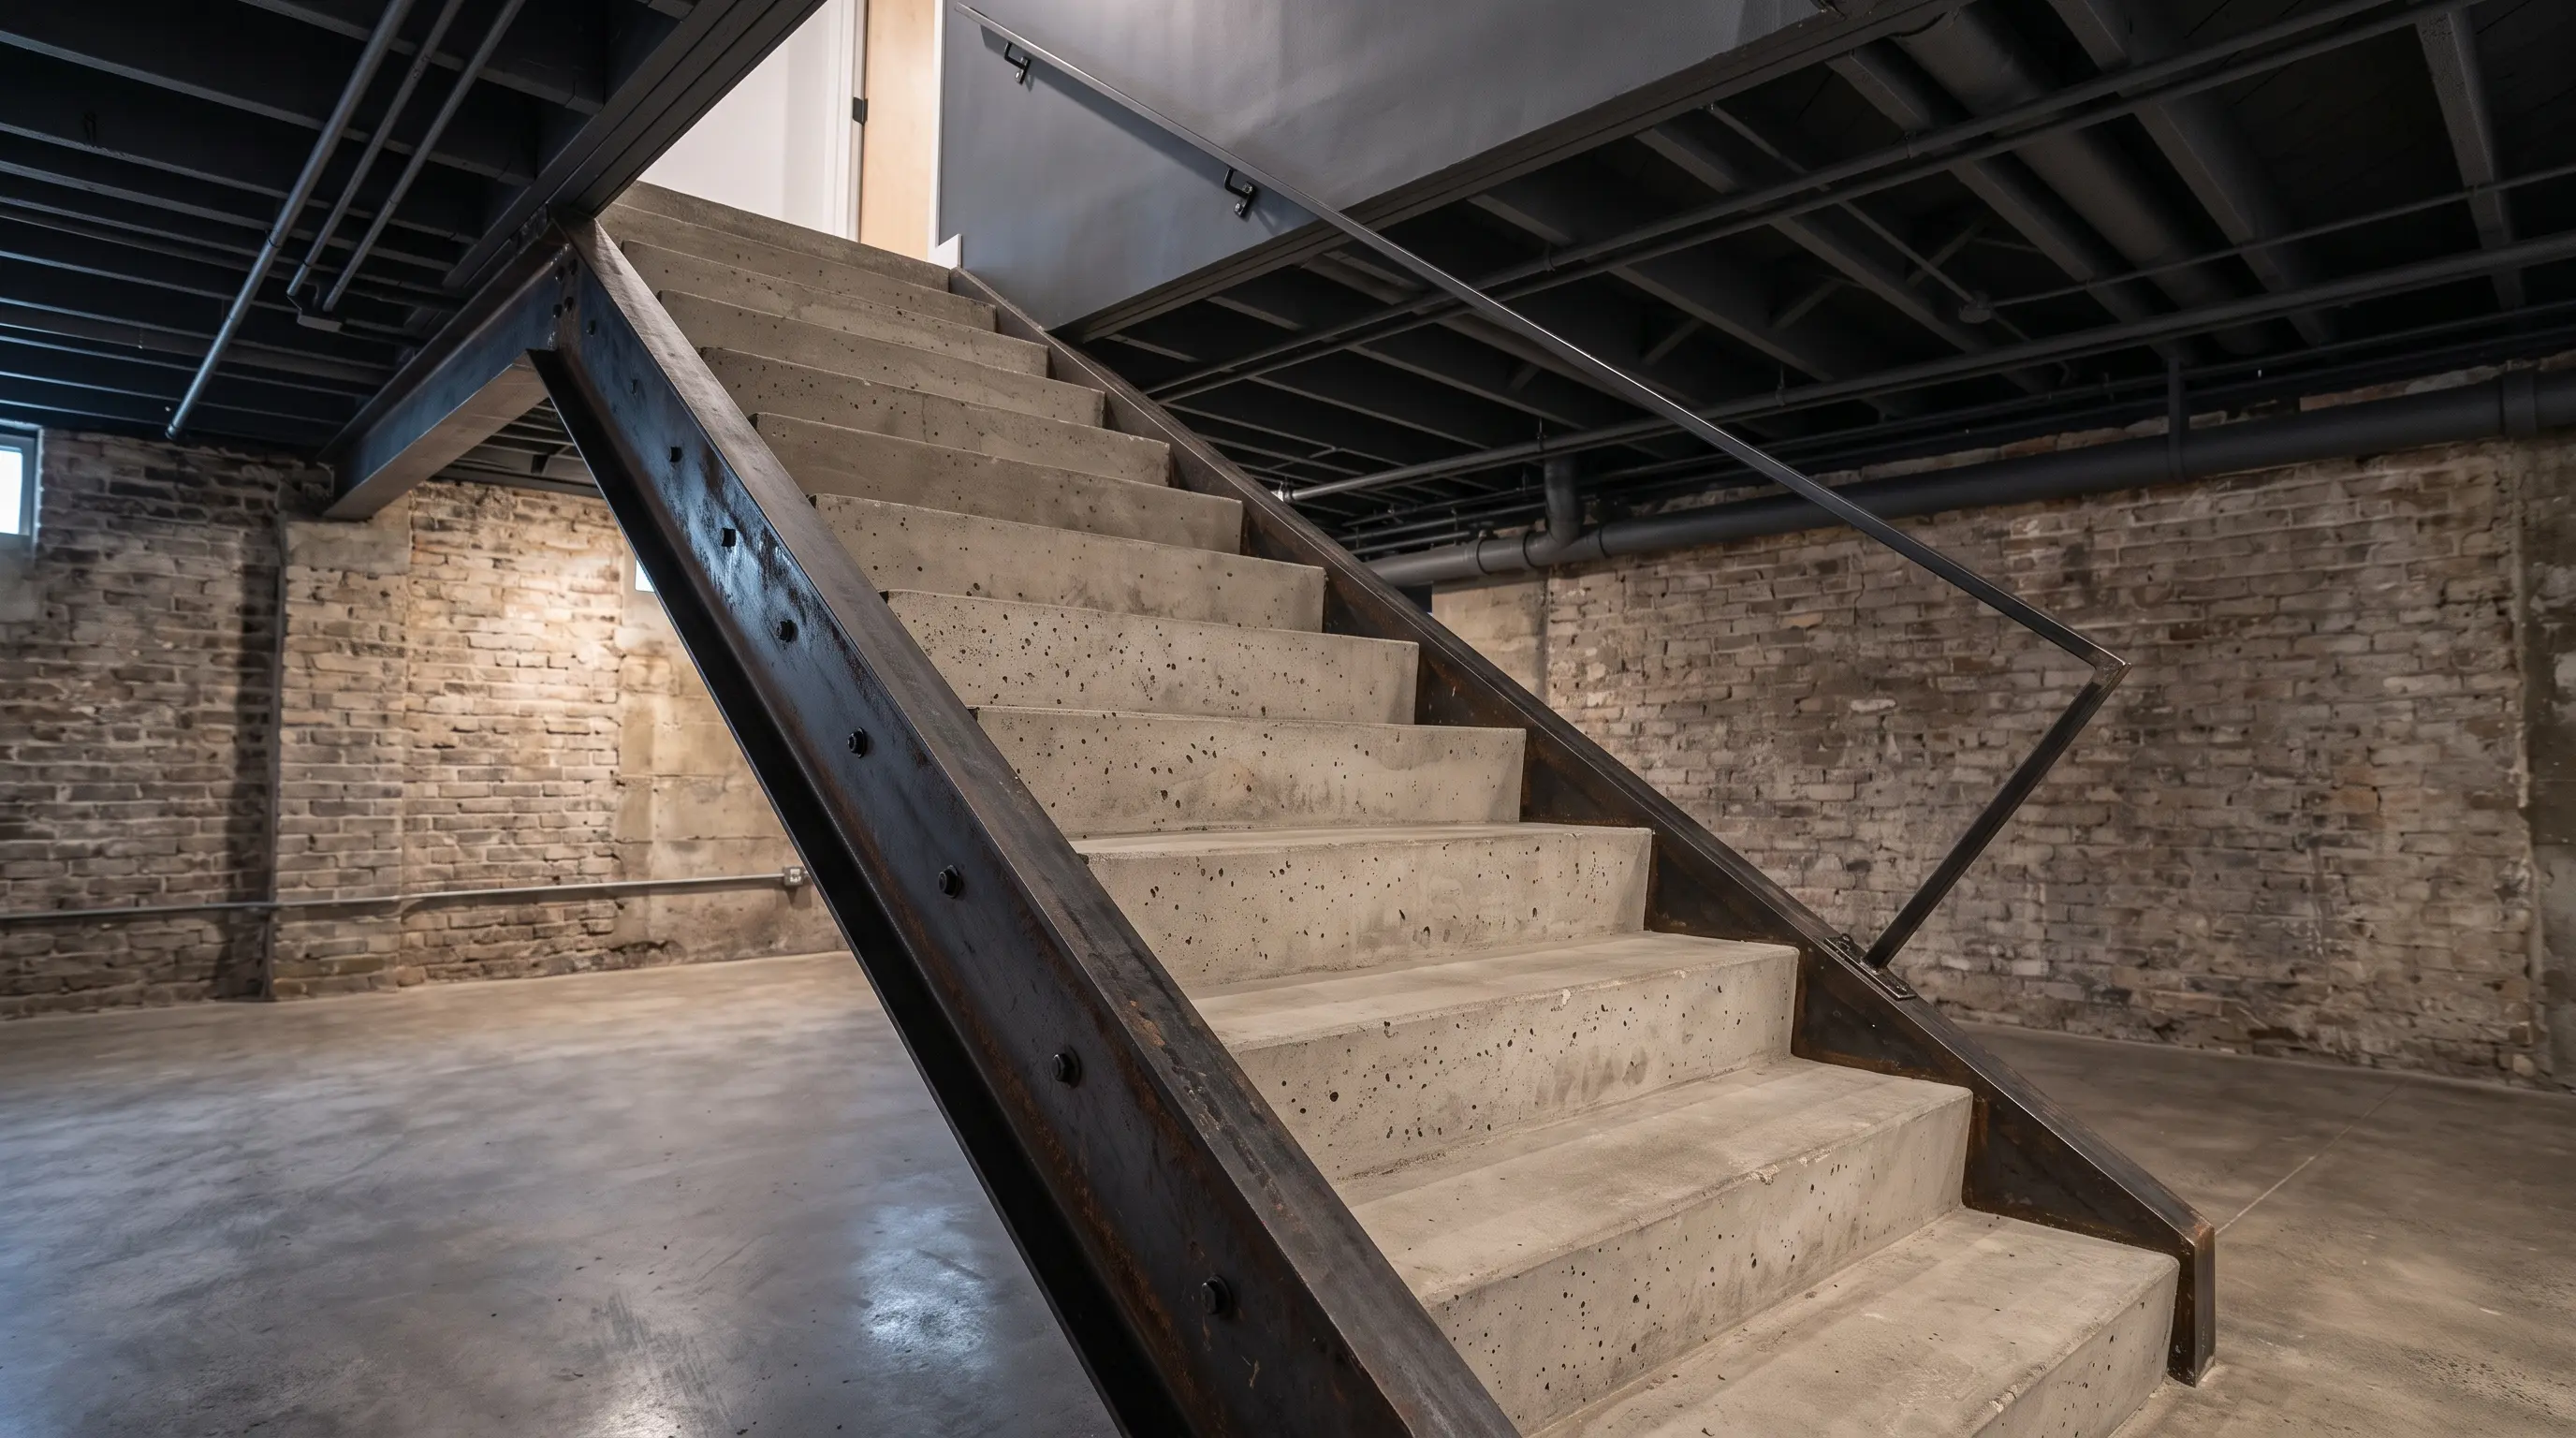
Embrace a heavy, raw, urban aesthetic for an ultra-modern statement.
- The Look: Poured concrete treads supported by blackened or powder-coated steel structural stringers.
- Why it Works: They are exceptionally durable and make a massive impact, combining industrial steel with the natural feel of stone.
- How to Style: Pair these heavy stairs with an exposed painted basement ceiling to complete the cohesive industrial loft aesthetic.
🛠️ Tools & Materials: Custom steel stringers, concrete molds, high-strength concrete mix, masonry sealer.
🧽 Maintenance: Concrete is porous. You must seal it annually to prevent permanent staining from spills.
⚠️ Mistakes & Safety Codes: Concrete is incredibly heavy. The basement floor and main floor joists must be professionally engineered to support the massive dead weight.
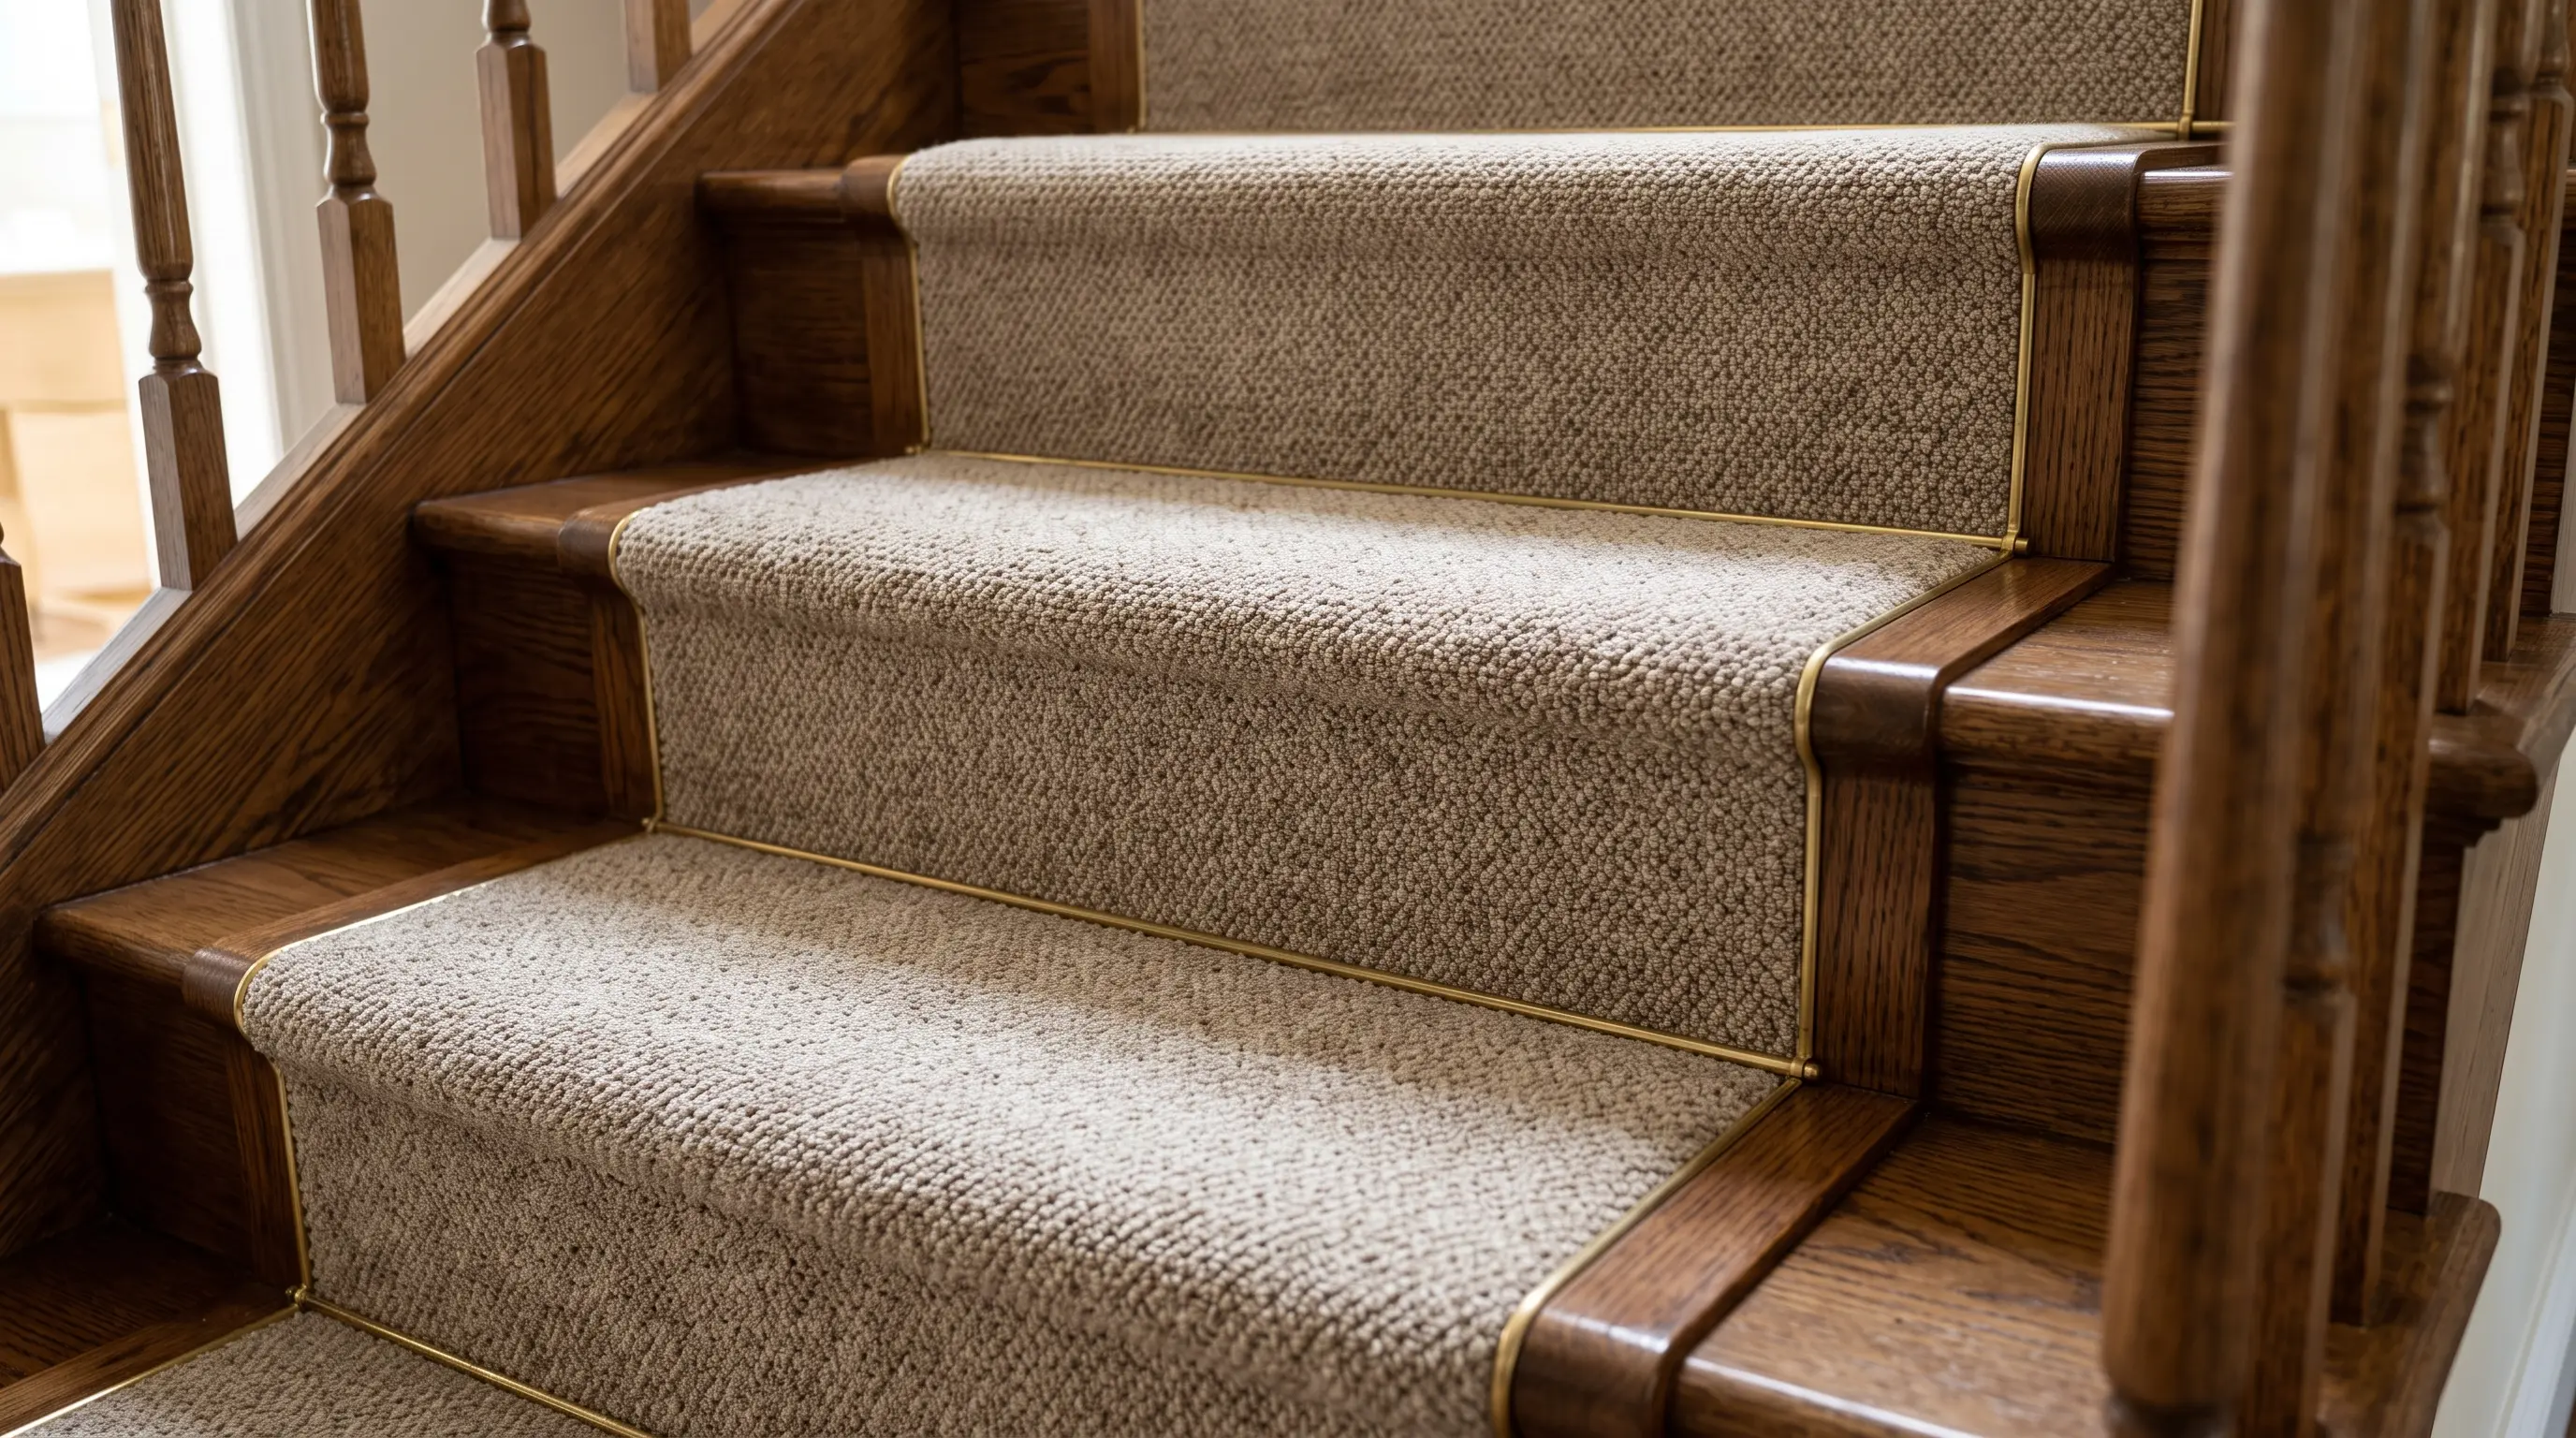
10. Carpeted Insets with Wood Borders
Get the best of both worlds: the quiet warmth of carpet with the beauty of wood.
- The Look: A plush carpet insert installed on each tread, beautifully bordered by stained and finished natural wood.
- Why it Works: It creates a custom, high-end look that is highly comfortable underfoot while keeping the edges easy to maintain and clean.
- How to Style: Use a heavy-duty, low-pile wool inset to ensure it can handle heavy daily foot traffic.
🛠️ Tools & Materials: Low-pile carpet remnants, carpet adhesive, pneumatic staple gun, wood stain.
🧽 Maintenance: Vacuum the carpeted center regularly; use a damp microfiber cloth for the exposed wood borders.
⚠️ Mistakes & Safety Codes: Ensure the carpet is perfectly flush with the wood. A raised carpet edge is a severe tripping hazard on stairs.
11. Geometric Wallpaper Accent
Make a powerful style statement in an otherwise narrow space.
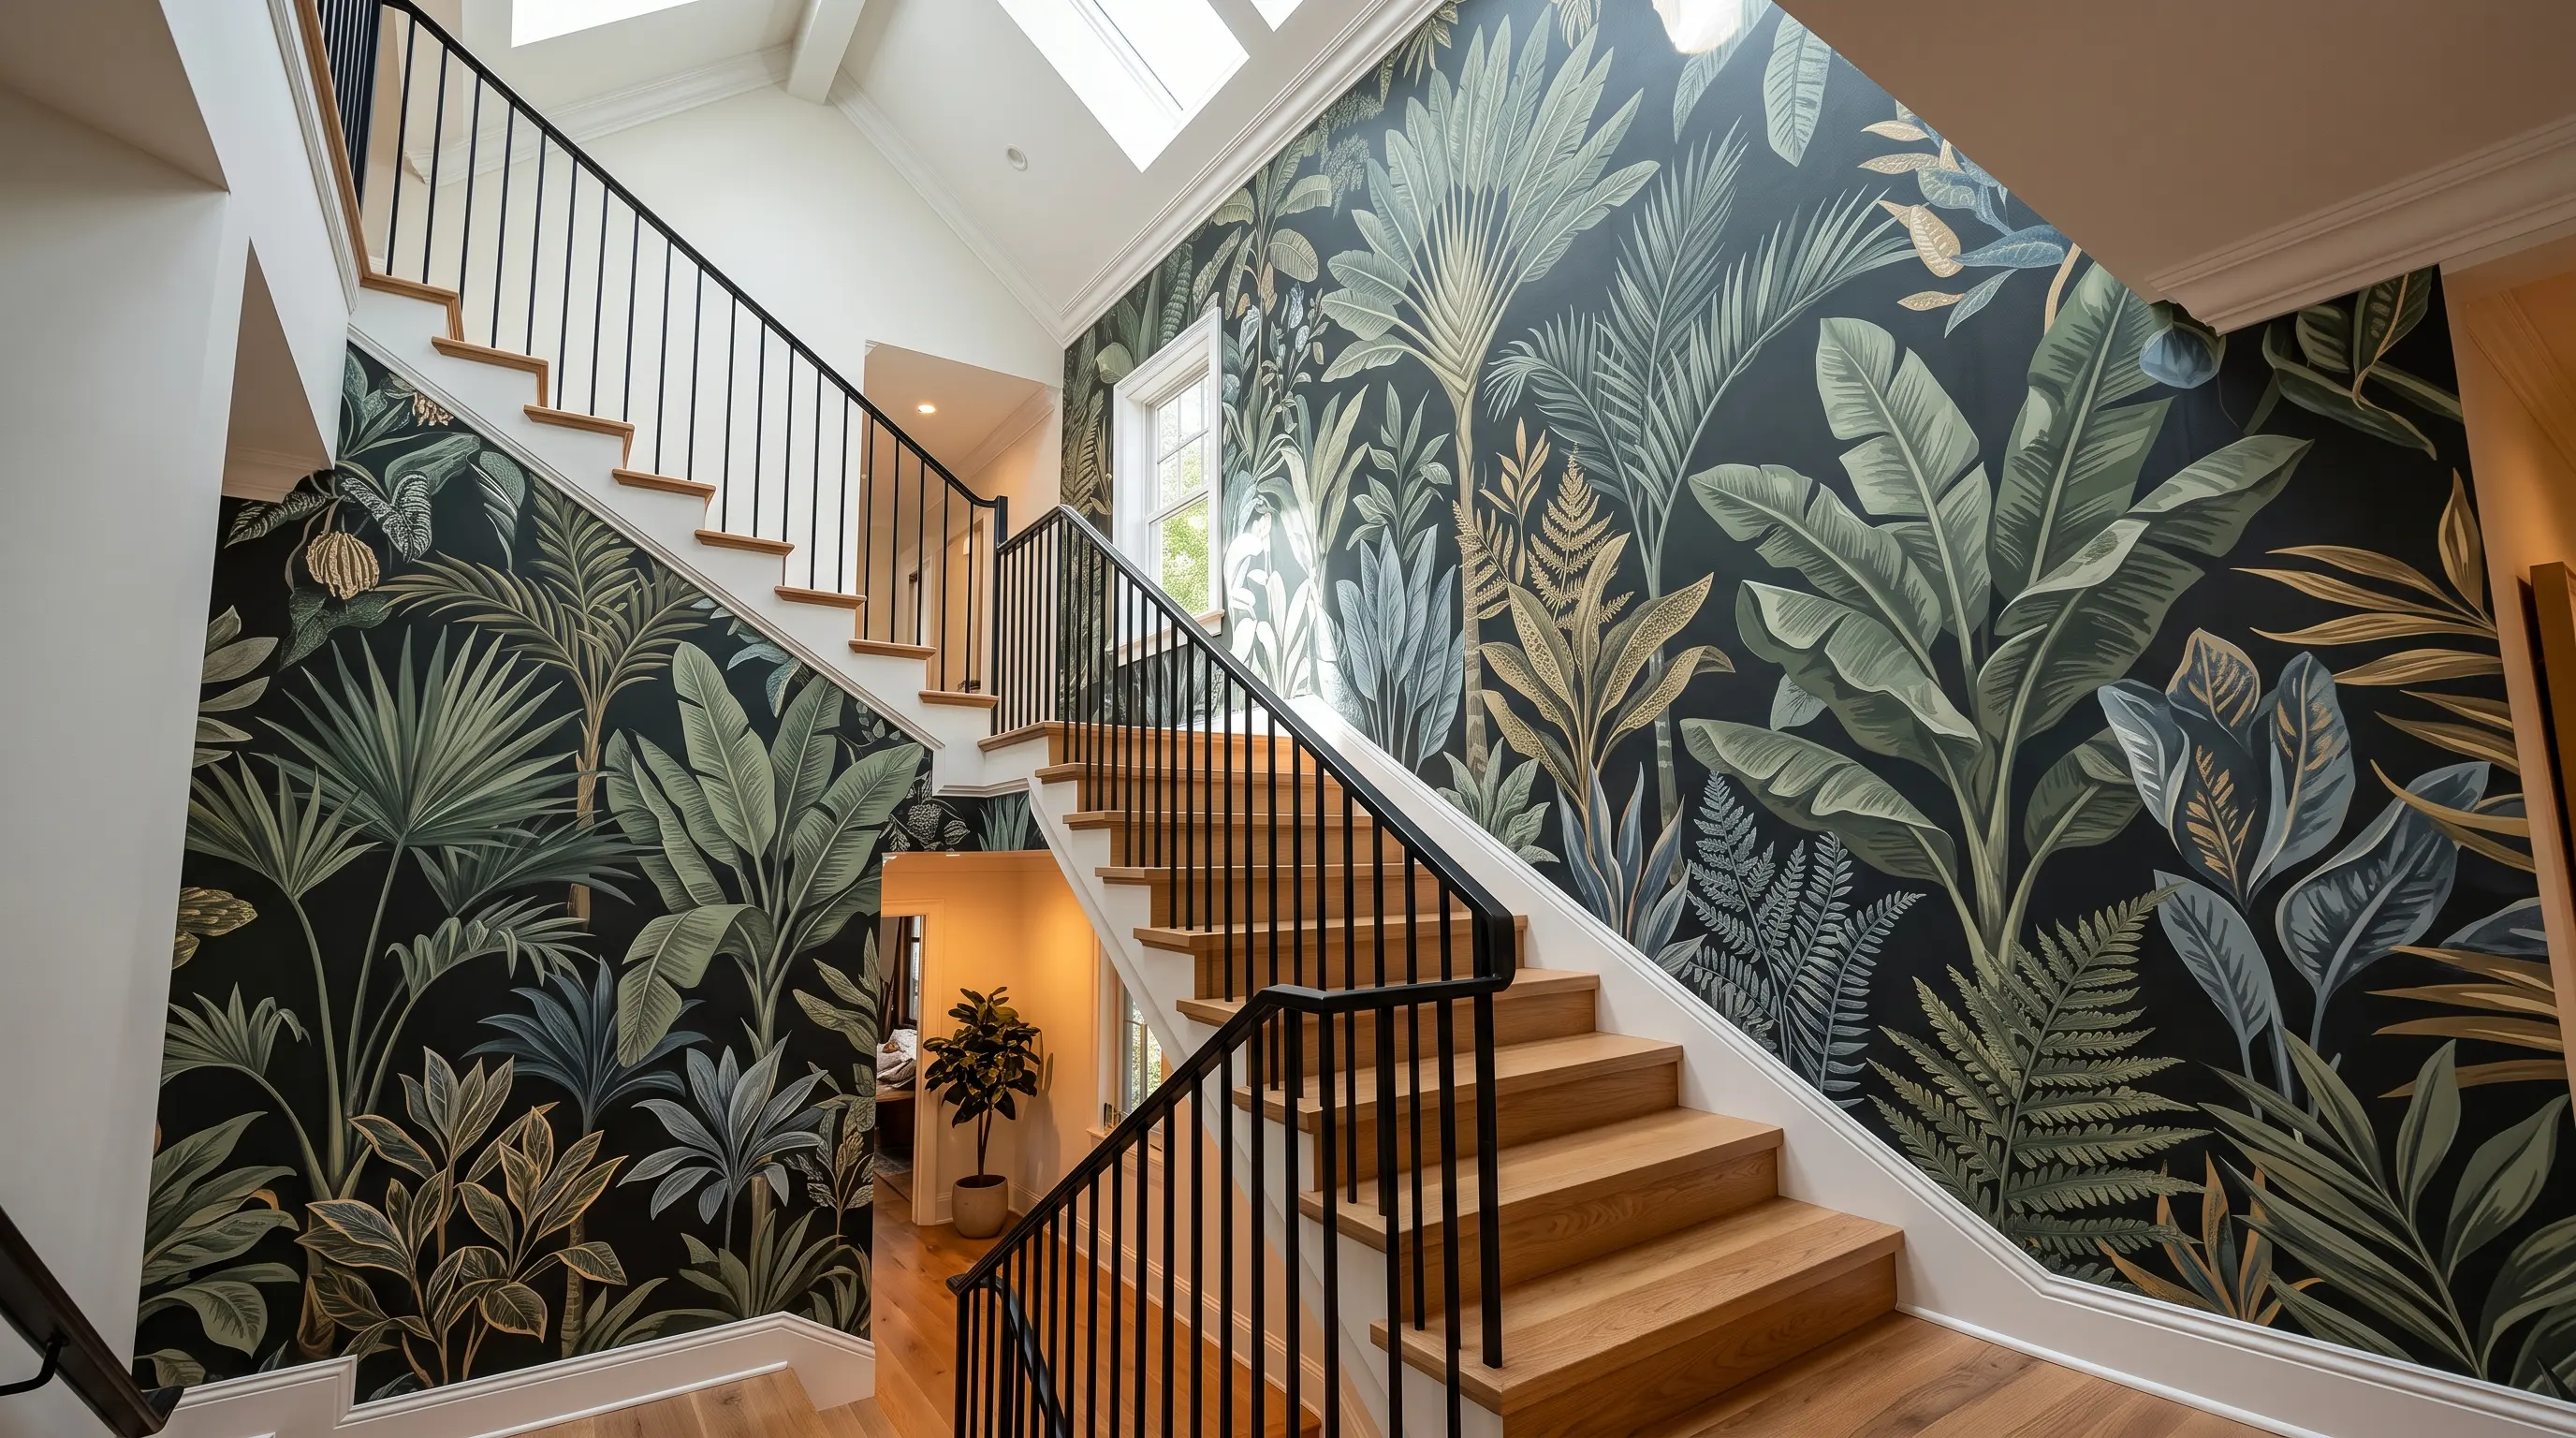
- The Look: A striking, large-scale geometric or botanical wallpaper applied to the massive stairwell wall.
- Why it Works: This vertical accent draws the eye down smoothly. Keeping the treads and railing simple lets the wallpaper be the star of the show.
- How to Style: Use modern peel-and-stick wallpaper. It is incredibly easy to apply and can be removed without damaging the drywall!
🛠️ Tools & Materials: Peel-and-stick wallpaper, smoothing squeegee, utility knife, laser level.
🧽 Maintenance: Wipe gently with a dry or very slightly damp cloth. Never scrub peel-and-stick paper.
⚠️ Mistakes & Safety Codes: Never eyeball the first panel! Use a laser level. If the first drop is slightly crooked, the entire geometric pattern will look terrible.
12. Painted Treads in a Bold Color
For a high-impact, low-cost update, grab a paintbrush.
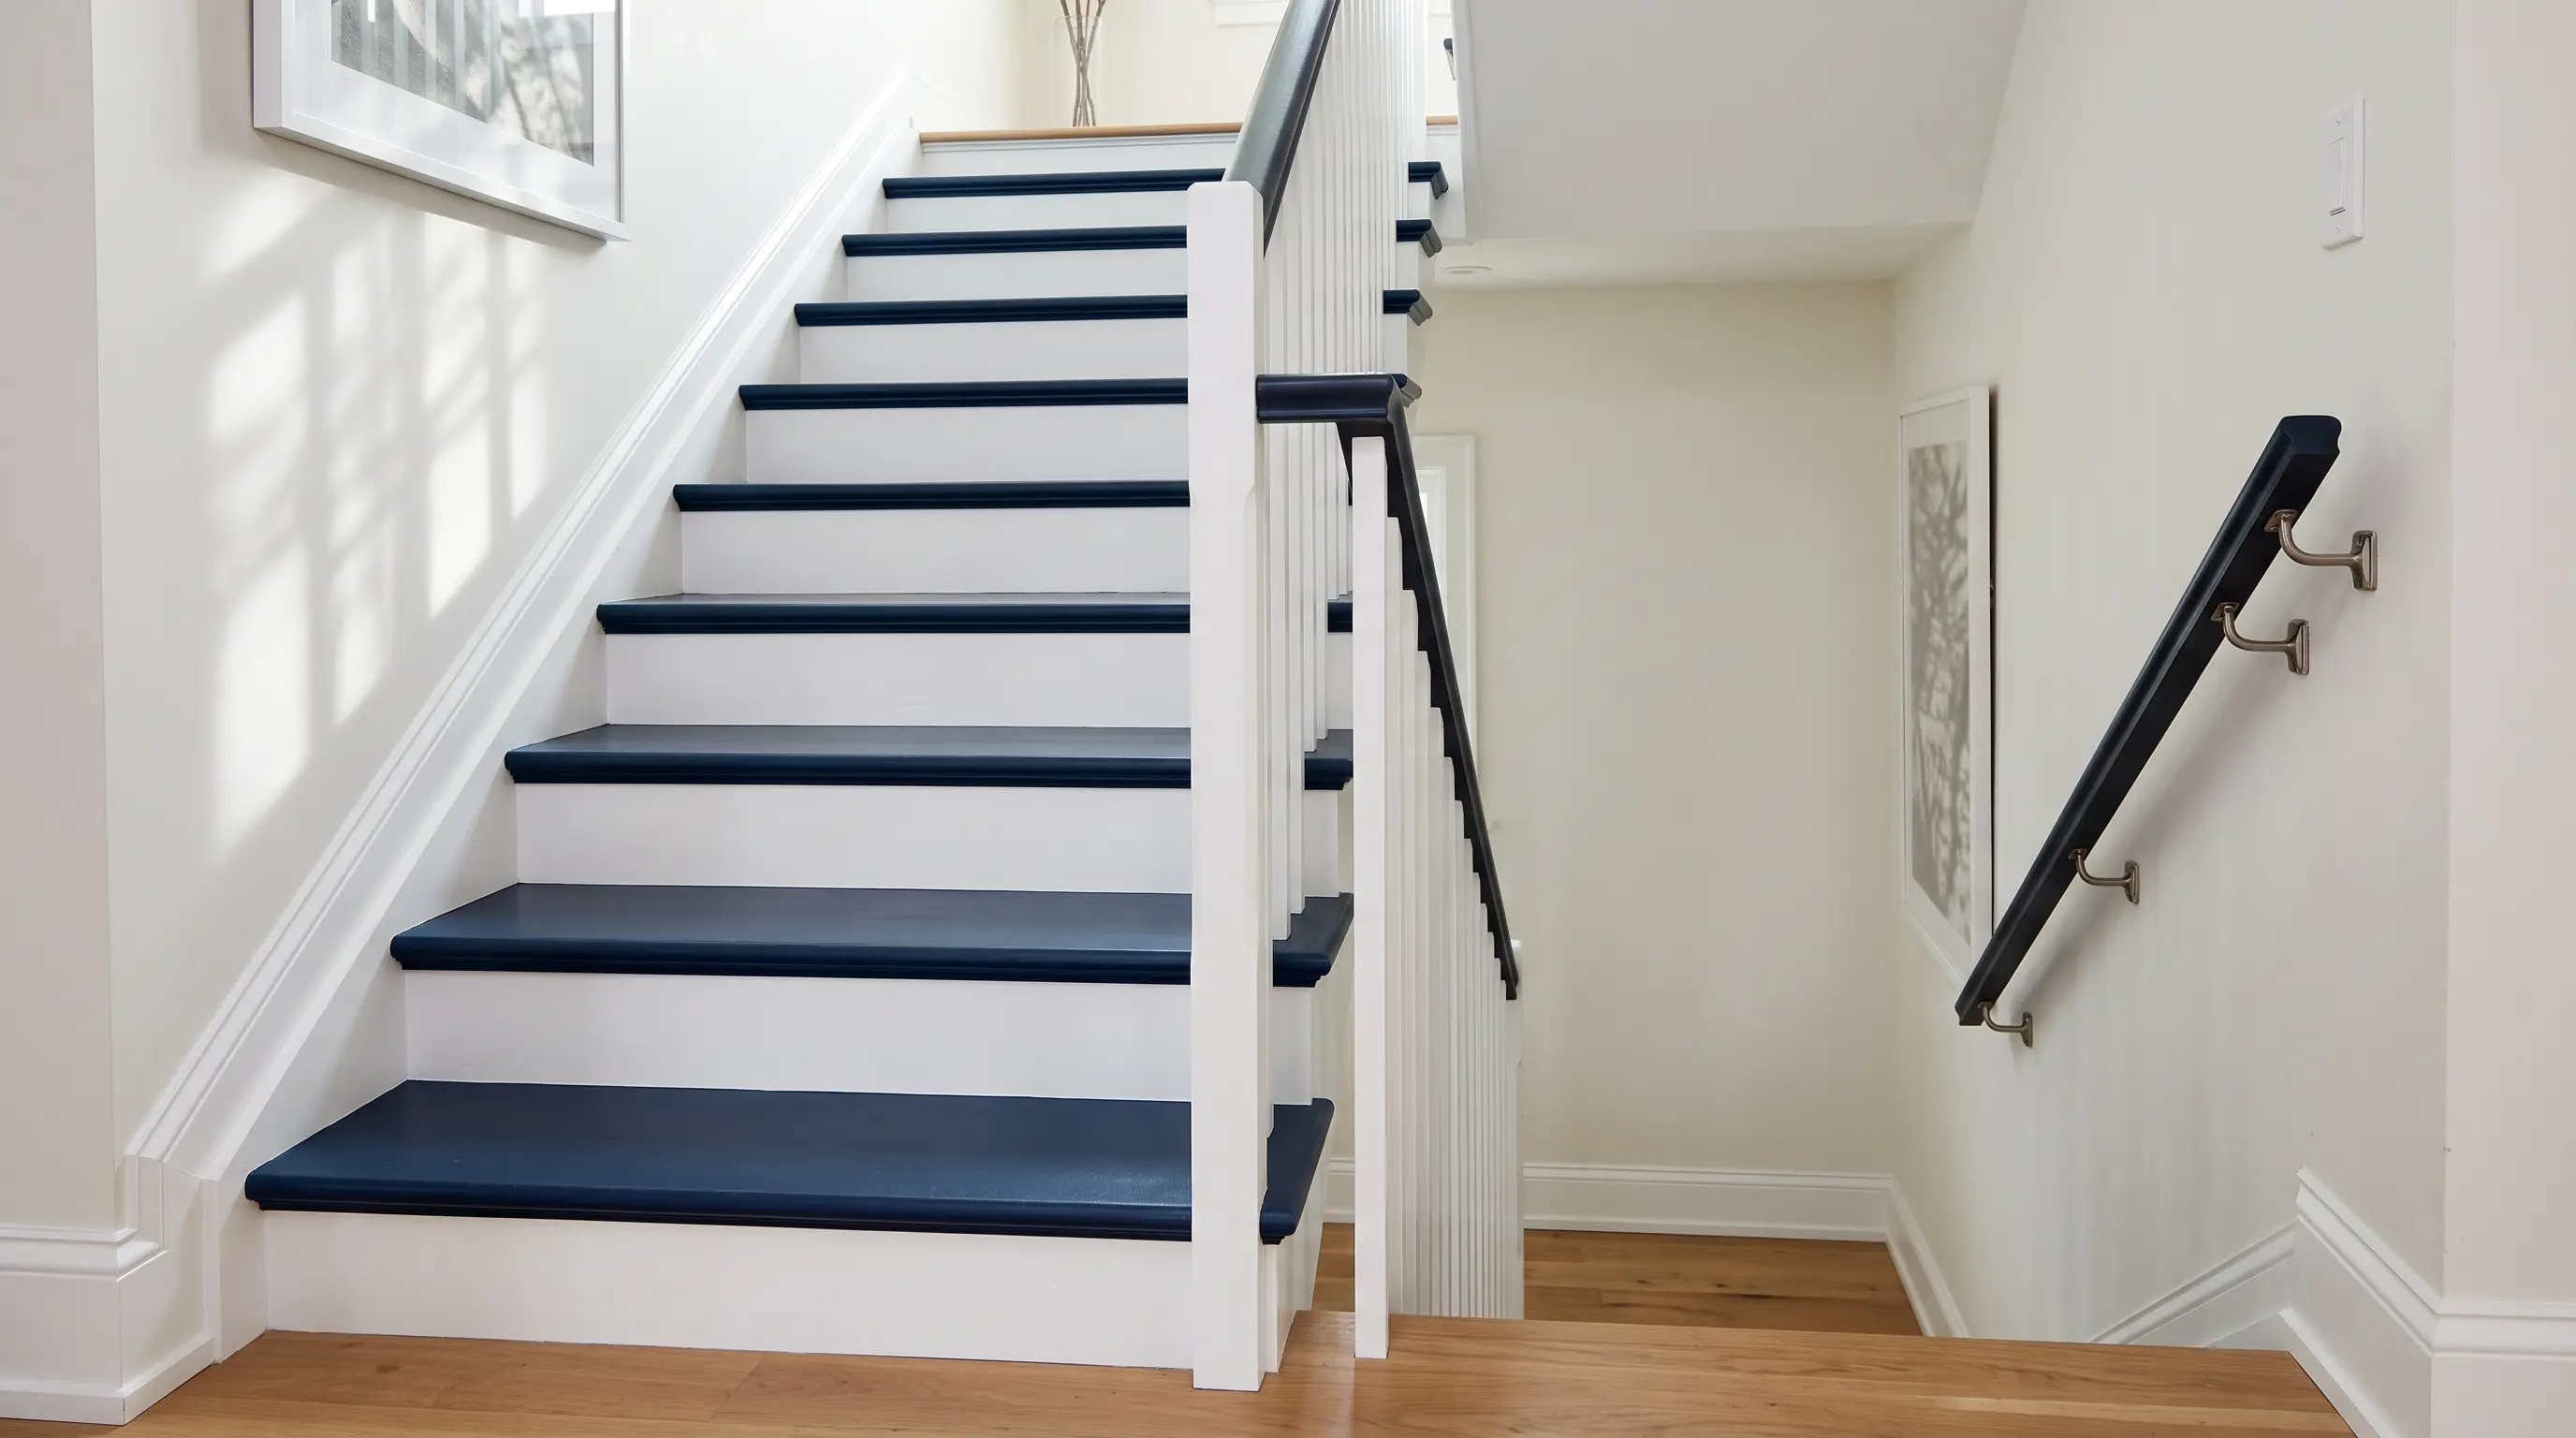
- The Look: Stair treads painted in a deep navy, forest green, or classic black contrasting sharply against white risers.
- Why it Works: It creates a highly dramatic, graphic look that instantly modernizes outdated, builder-grade wooden stairs.
- How to Style: Use a high-quality, enamel-based paint to ensure absolute durability against constant foot traffic.
🛠️ Tools & Materials: Polyurethane Porch & Floor paint, high-density foam rollers, Zinsser BIN primer.
🧽 Maintenance: Clean up spills immediately with mild soap. Harsh chemical detergents will strip the enamel finish.
⚠️ Mistakes & Safety Codes: Never use standard gloss wall paint on stair treads! It is incredibly slippery and poses a massive falling hazard.
13. Statement Runner
Add color, texture, and a layer of sophistication instantly.
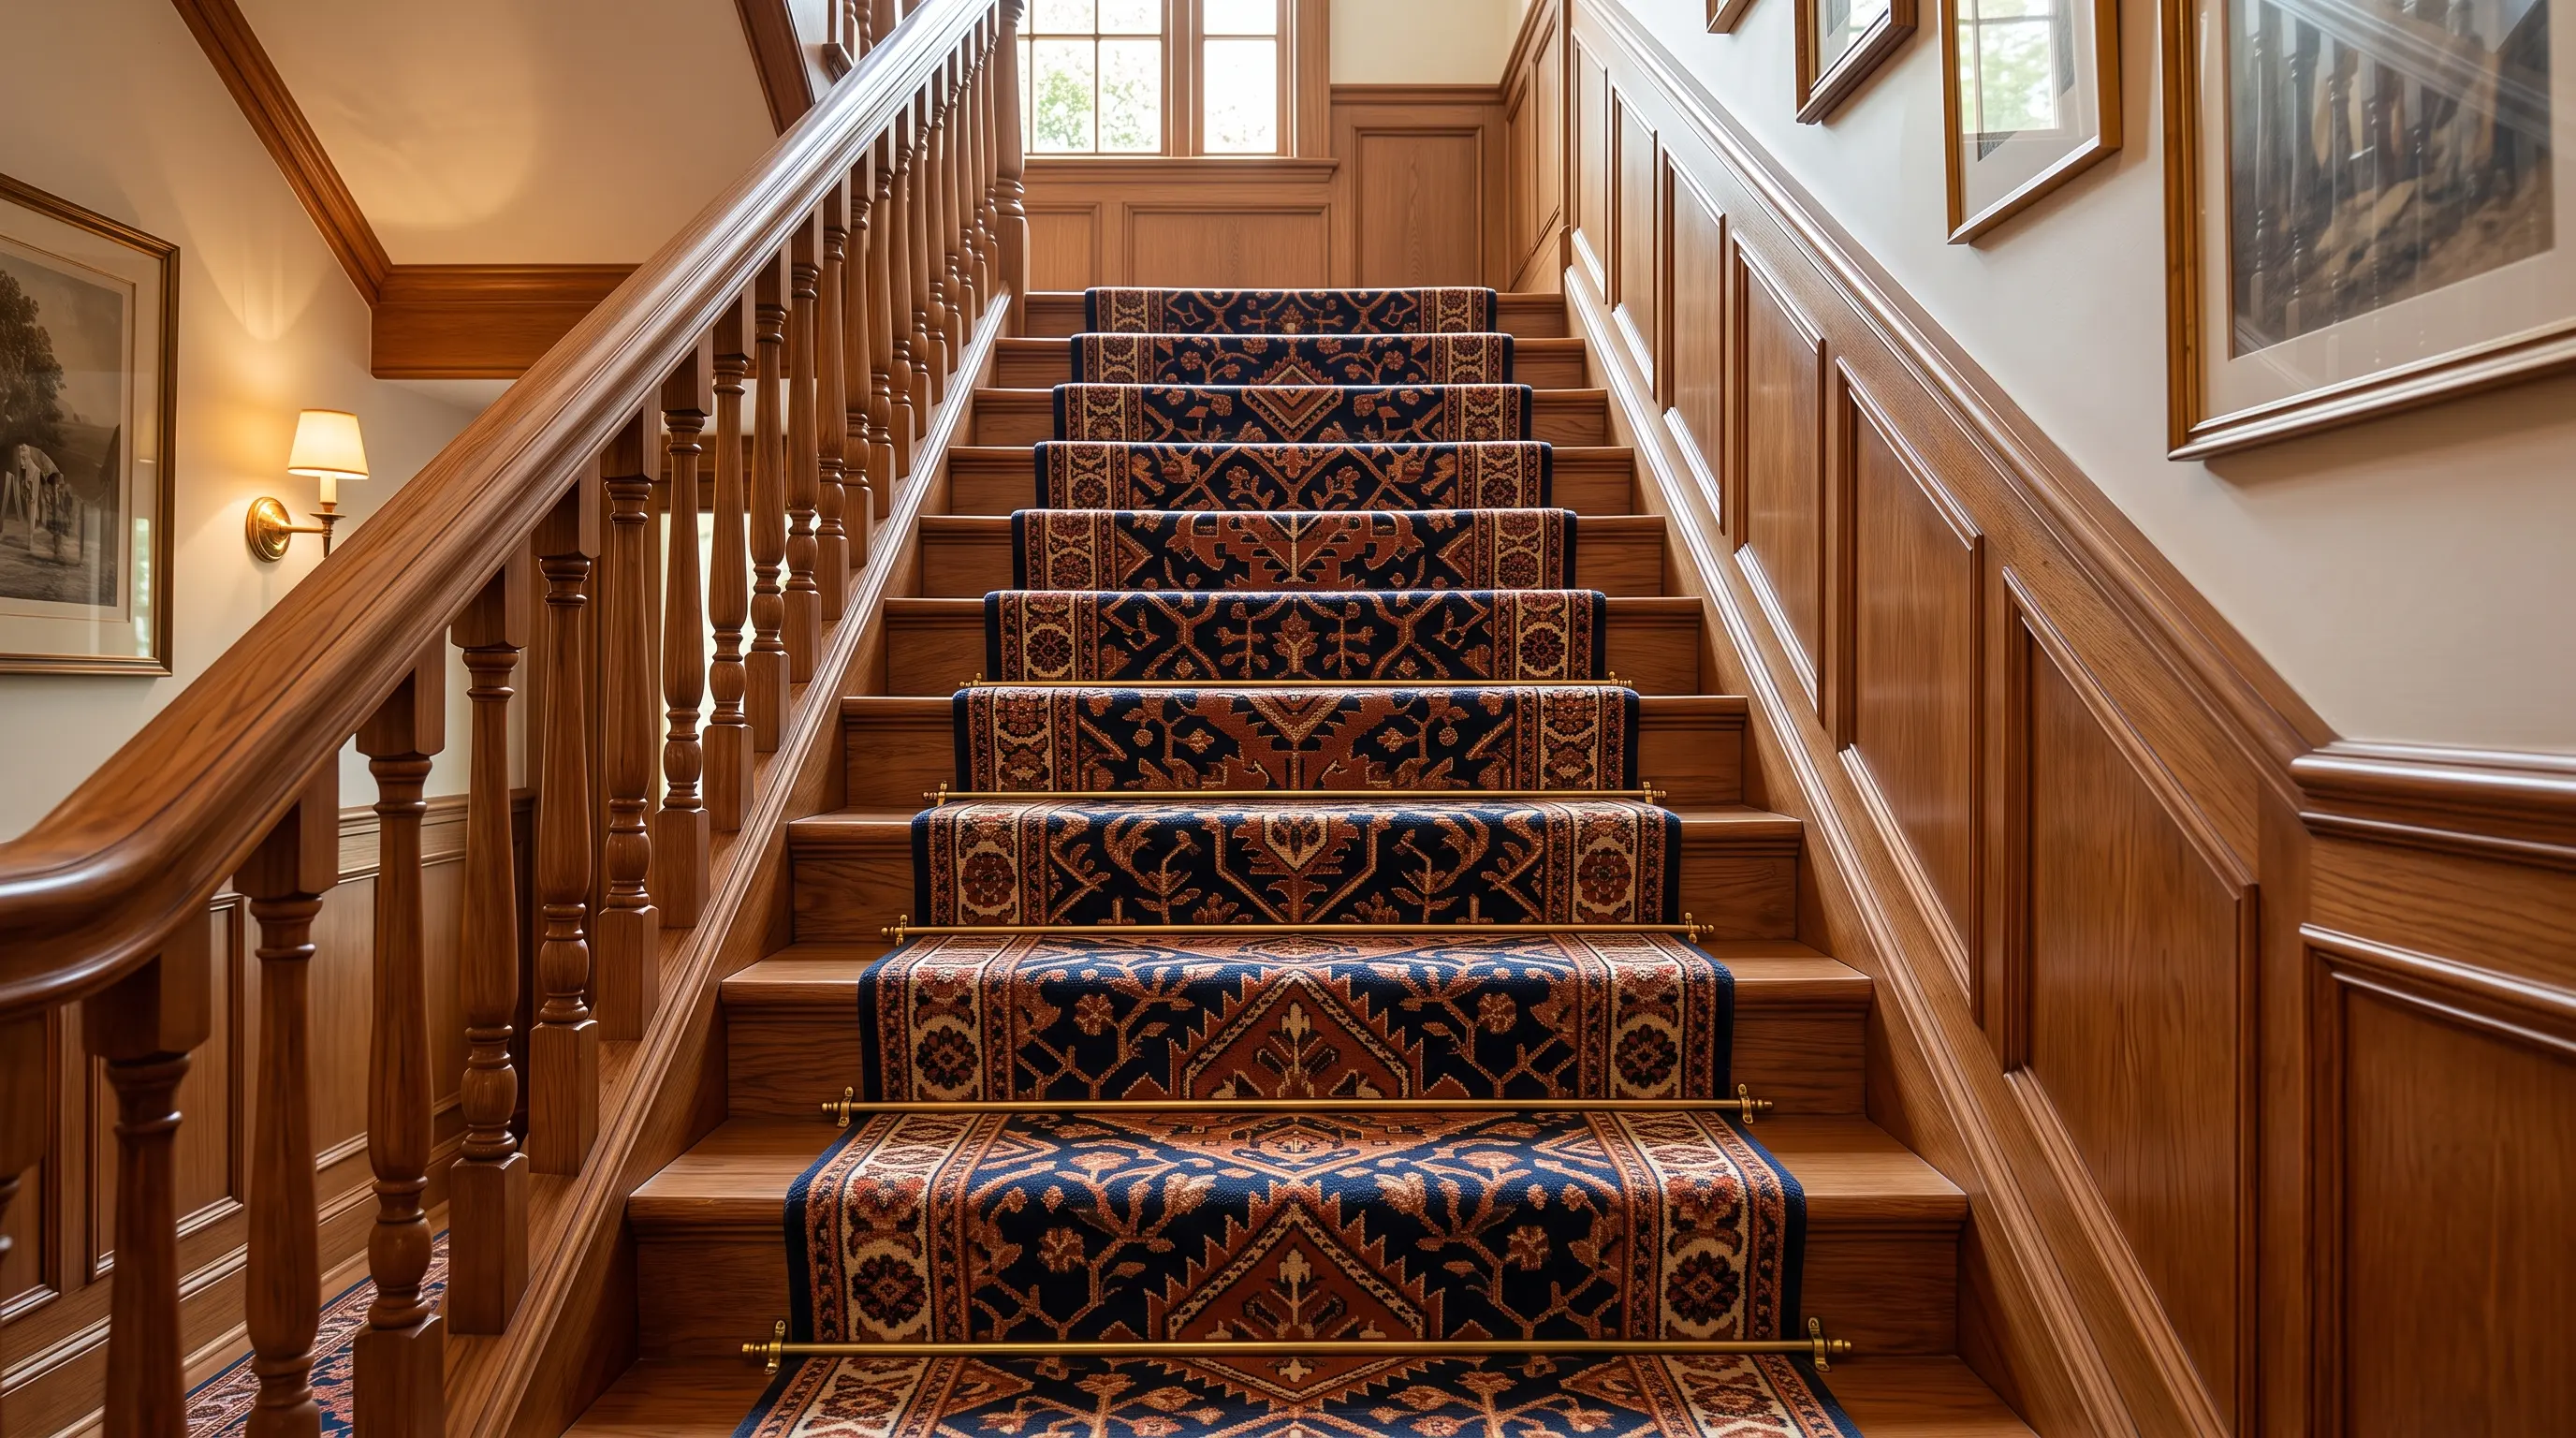
- The Look: A bold, patterned carpet runner laid perfectly down the center of your wooden stairs.
- Why it Works: A runner provides excellent traction, significantly reduces noise, and protects your wooden treads from scratching.
- How to Style: Choose a durable, low-pile wool or indoor-outdoor material that can handle traffic while leading the eye beautifully downward.
🛠️ Tools & Materials: Carpet runner, carpet padding, pneumatic staple gun, carpet tucking tool.
🧽 Maintenance: Use a thick, quality carpet pad beneath the runner to absorb sound and extend the life of the fabric.
⚠️ Mistakes & Safety Codes: Loose runners cause lethal slips. You must pull the fabric incredibly tight and staple it securely beneath the nose of every single step.
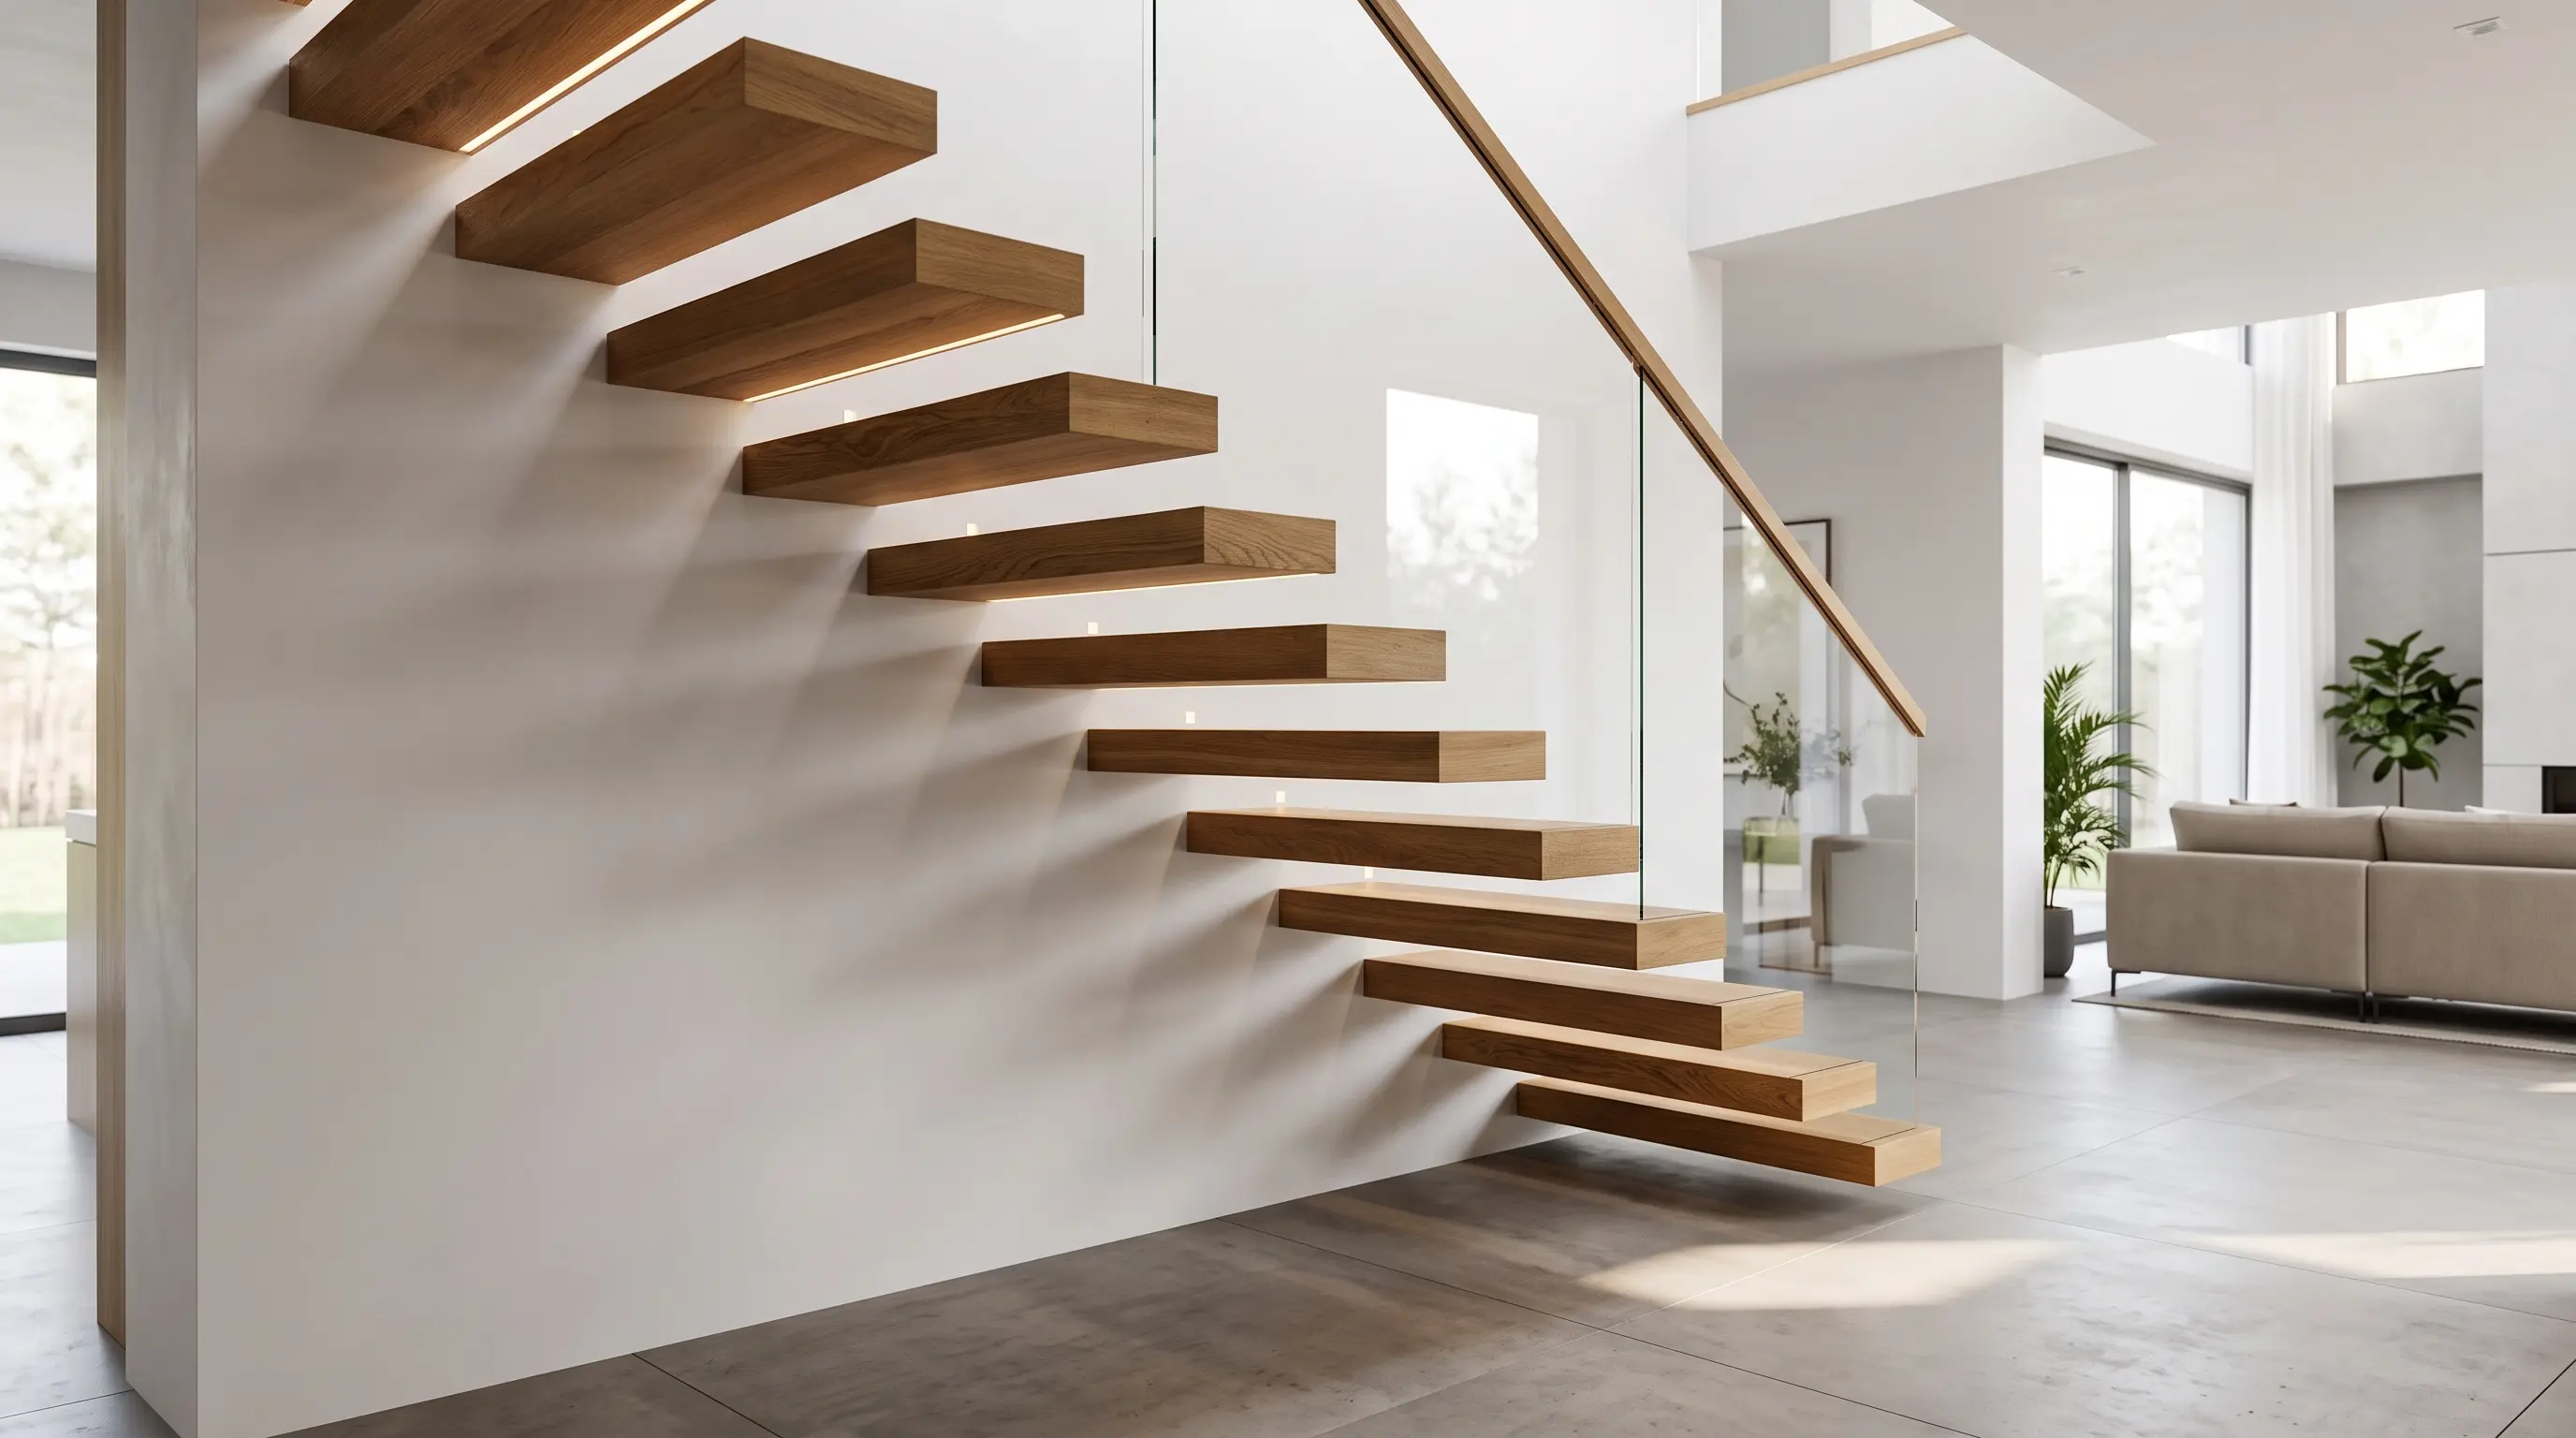
14. The "Floating" Cantilevered Stair
This is pure architectural sculpture.
- The Look: Treads that appear to float in mid-air, anchored directly into the wall with absolutely no visible stringers below.
- Why it Works: It is the ultimate modern statement, maximizing light flow and creating a stunning, minimalist focal point that delivers unmatched wow factor.
- How to Style: Leave the wall completely bare to ensure the hovering architecture of the stairs remains the absolute center of attention.
🛠️ Tools & Materials: Hidden steel support brackets, thick solid-wood treads, heavy-duty masonry anchors.
🧽 Maintenance: Check the wall joints annually for hairline cracks in the drywall caused by the treads flexing.
⚠️ Mistakes & Safety Codes: This design requires professional engineering. Building codes usually limit the open space between floating treads to a maximum of 4 inches for safety.
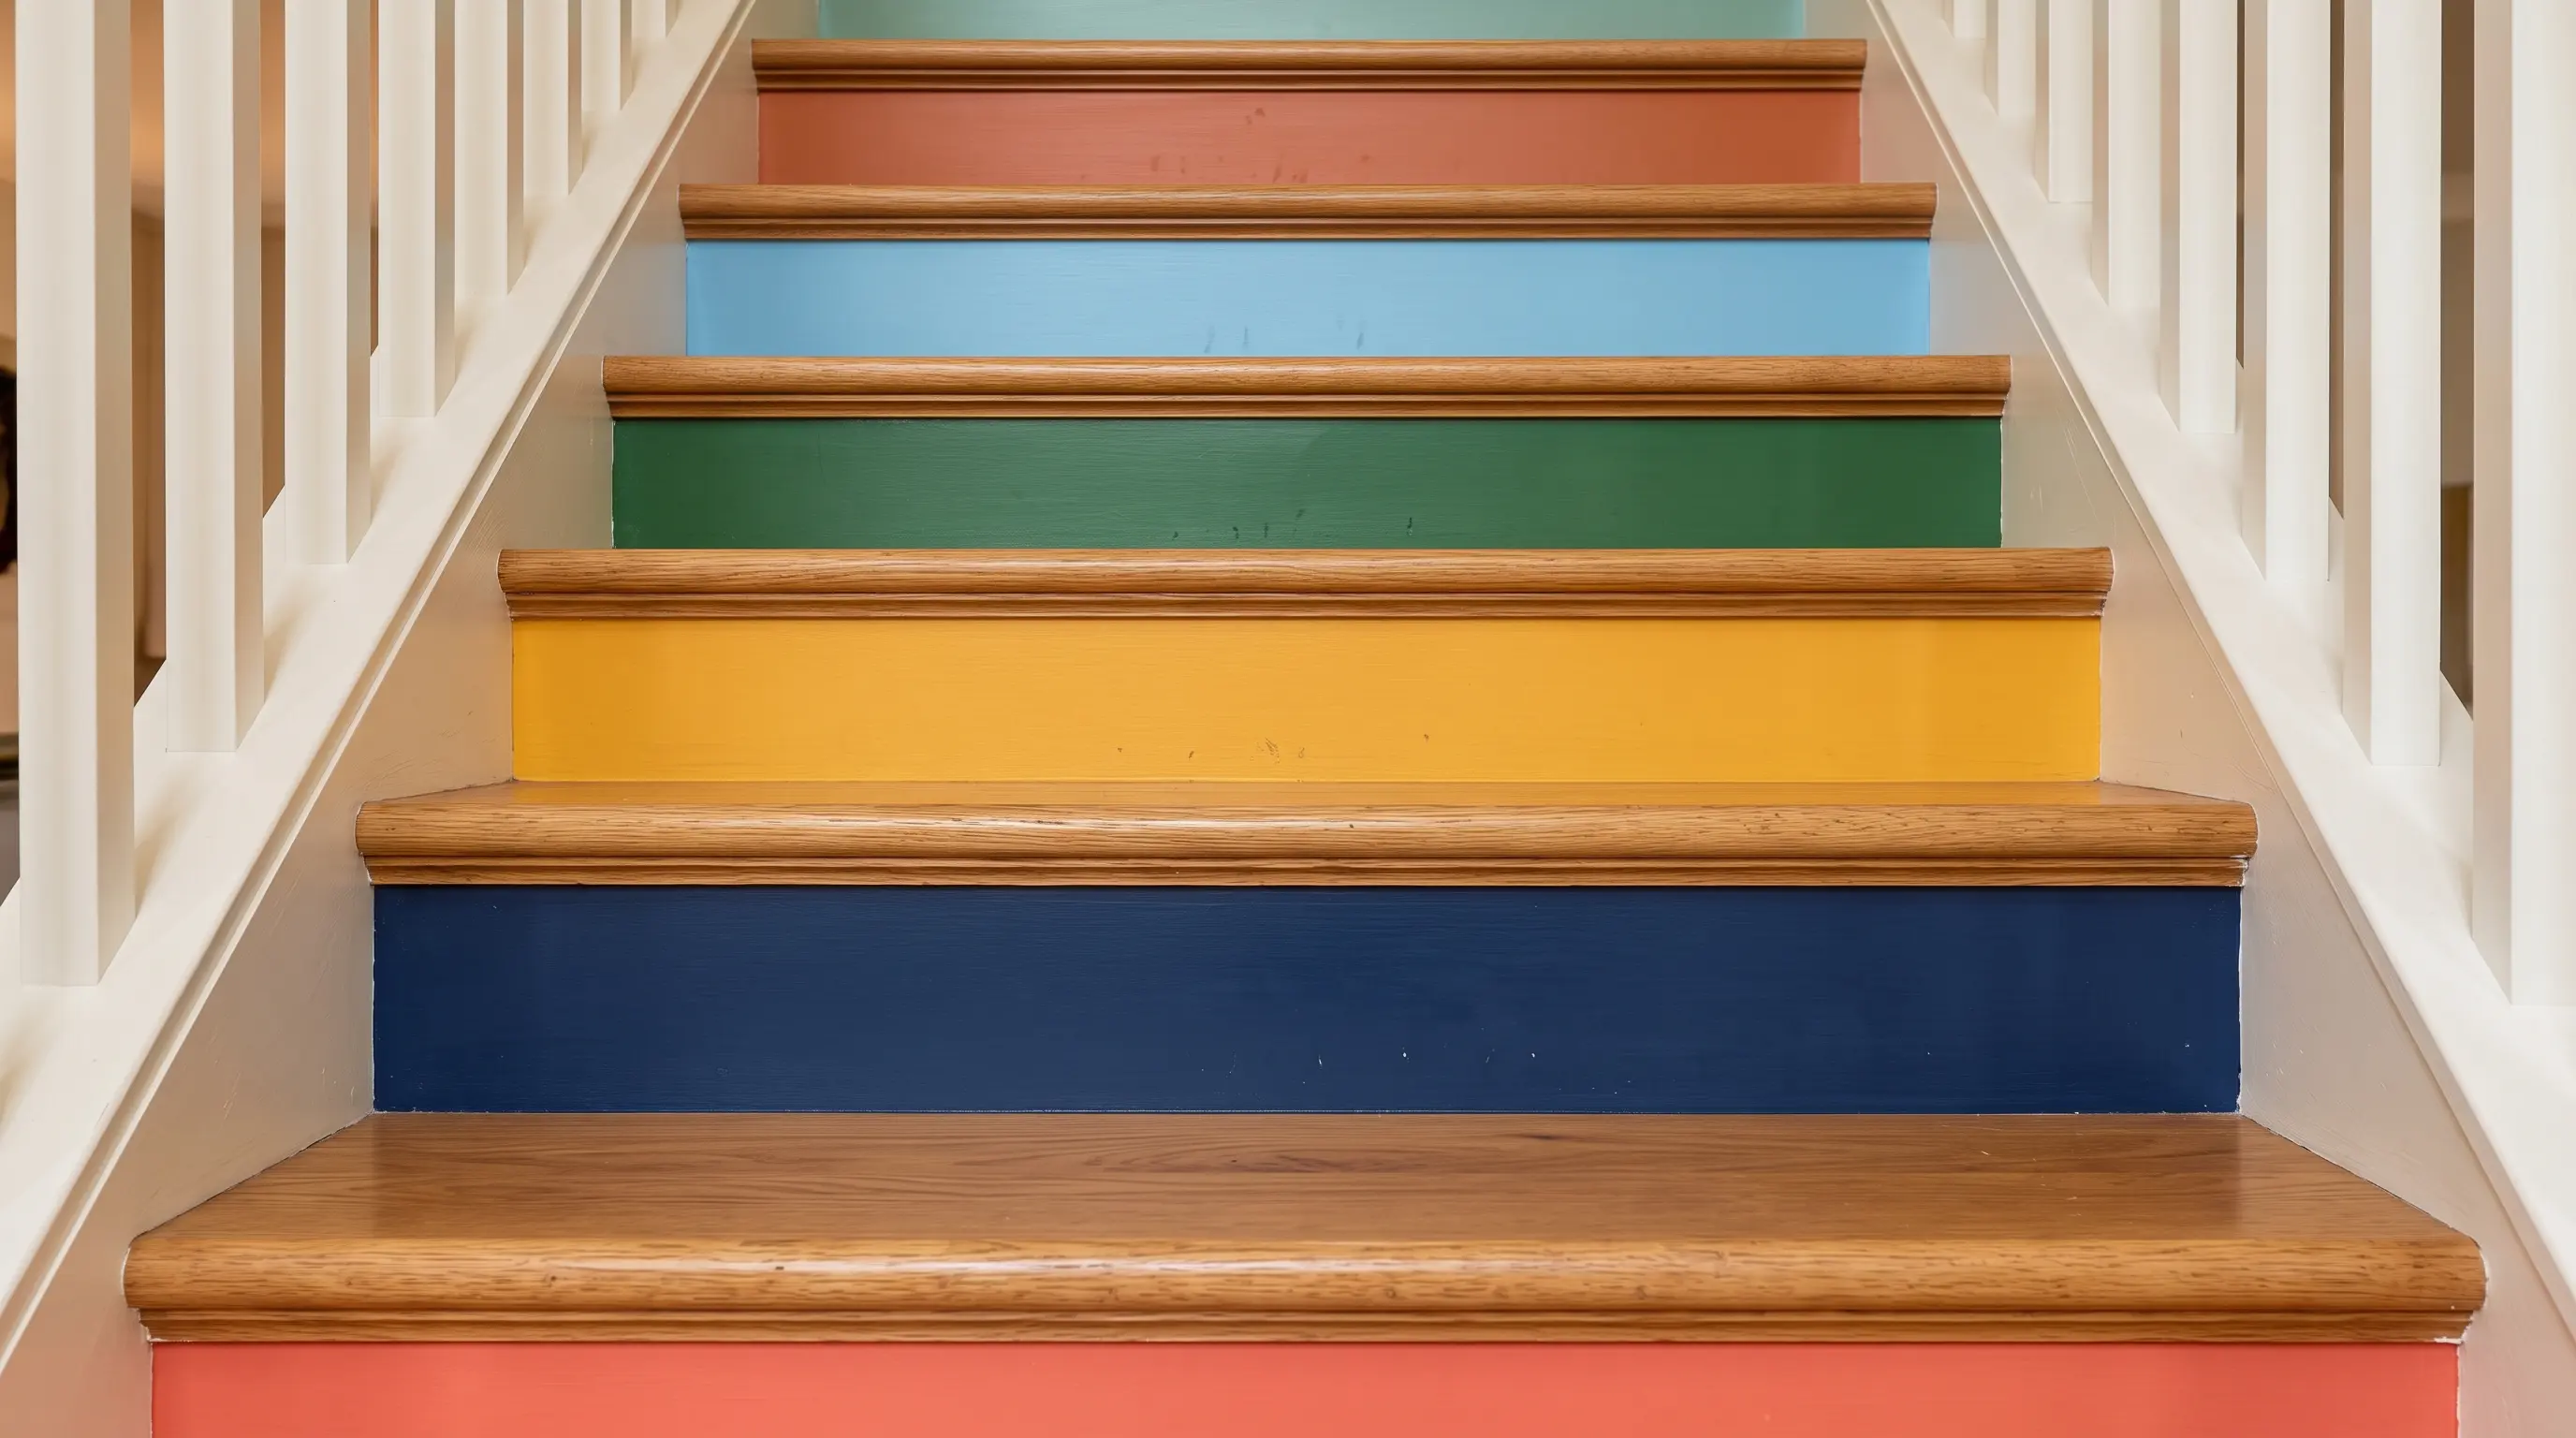
15. Contrasting Risers
Create rhythm and visual interest using alternating colors.
- The Look: Each stair riser (the vertical face) is painted or beautifully tiled in a different, alternating color.
- Why it Works: This playful, highly creative approach adds massive personality without overwhelming the primary floor space.
- How to Style: This is especially effective and welcoming in a family-friendly basement game room or a creative hobby space.
🛠️ Tools & Materials: Painter's tape, contrasting paint colors, or peel-and-stick vinyl tiles.
🧽 Maintenance: Risers get kicked often. Use a scuff-resistant paint or wipe vinyl decals with a magic eraser.
⚠️ Mistakes & Safety Codes: The building code is non-negotiable; maximum riser height is typically 7.75 inches. Adding thick ceramic tiles to risers can alter step heights and violate codes!
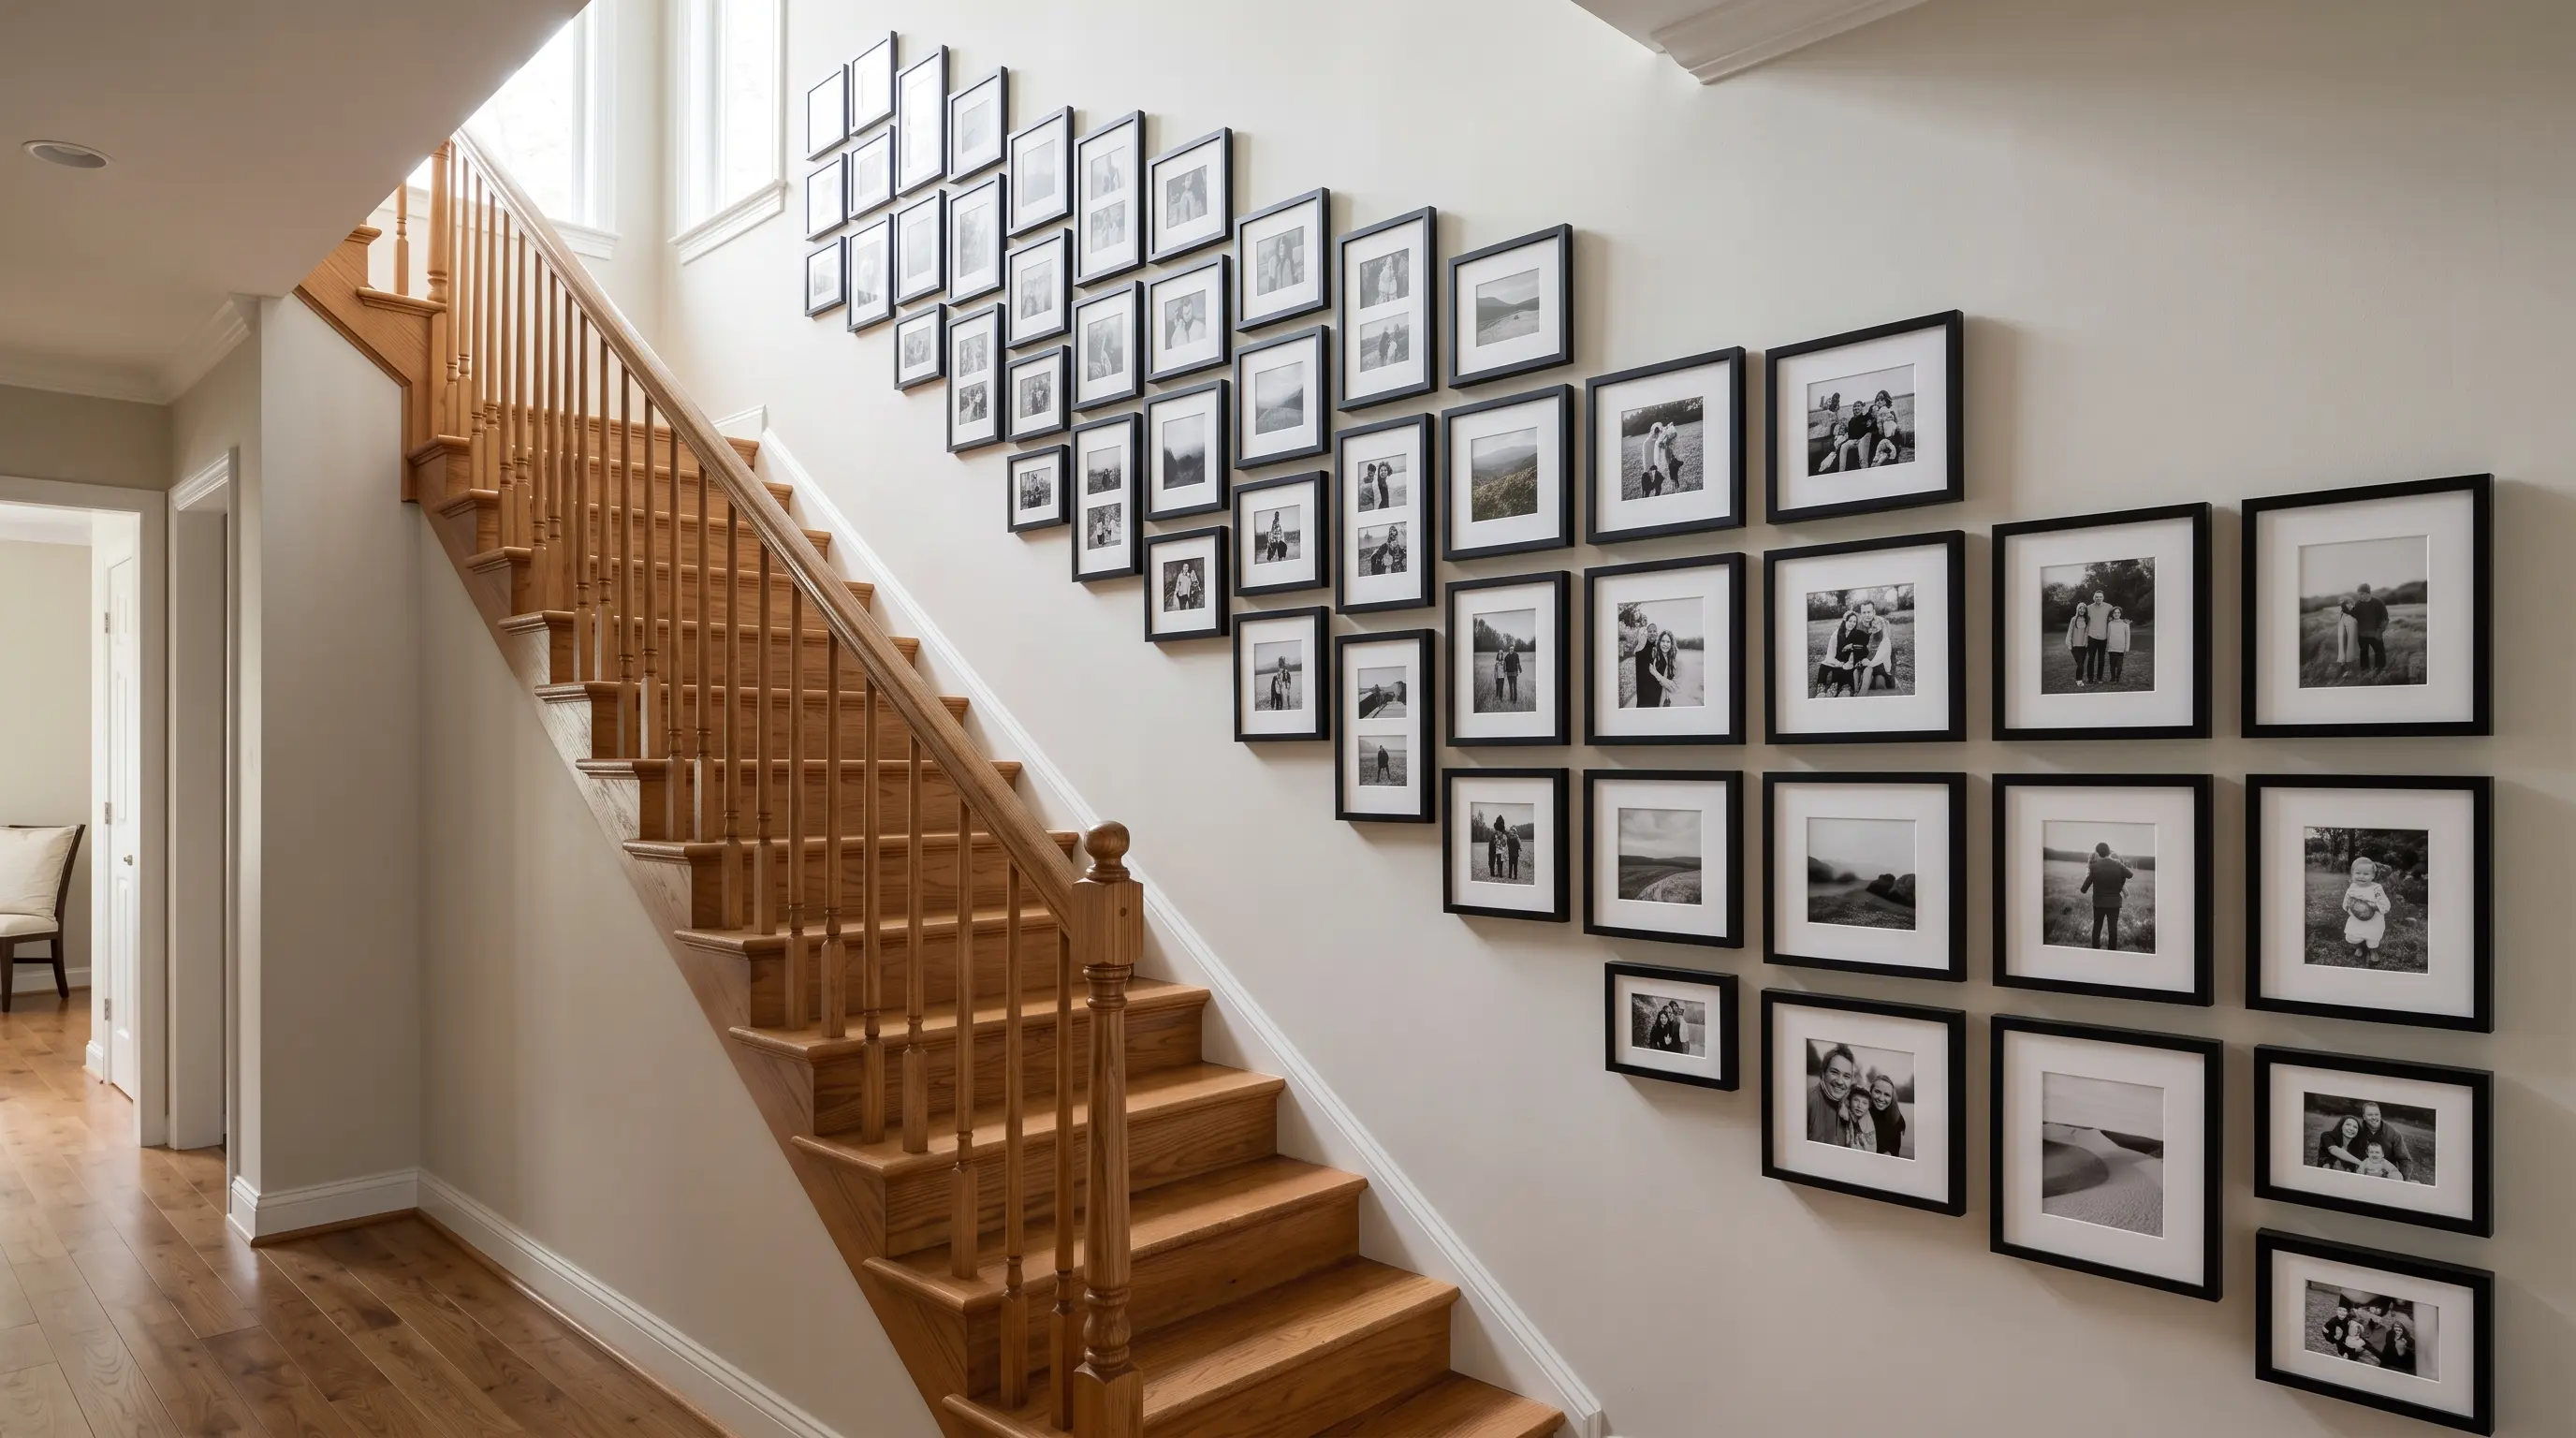
16. Stairway Gallery Wall
Treat the sloped wall alongside your stairs as a curated gallery space.
- The Look: A collection of framed art, photographs, or mirrors hung beautifully, following the exact incline of the stairs.
- Why it Works: It personalizes the space completely and gives guests a beautiful reason to slow down and enjoy the journey downstairs.
- How to Style: Use identical matte-black frames with crisp white matting for a highly professional, museum-quality layout.
🛠️ Tools & Materials: Picture frames, Command Strips (for renters), measuring tape, newspaper for templating.
🧽 Maintenance: Dust frames weekly. Ensure frames are flat against the wall so people don't knock them over when walking.
⚠️ Mistakes & Safety Codes: Never eyeball a gallery wall! Cut newspaper to the size of your frames and tape them to the wall first to perfect your layout.
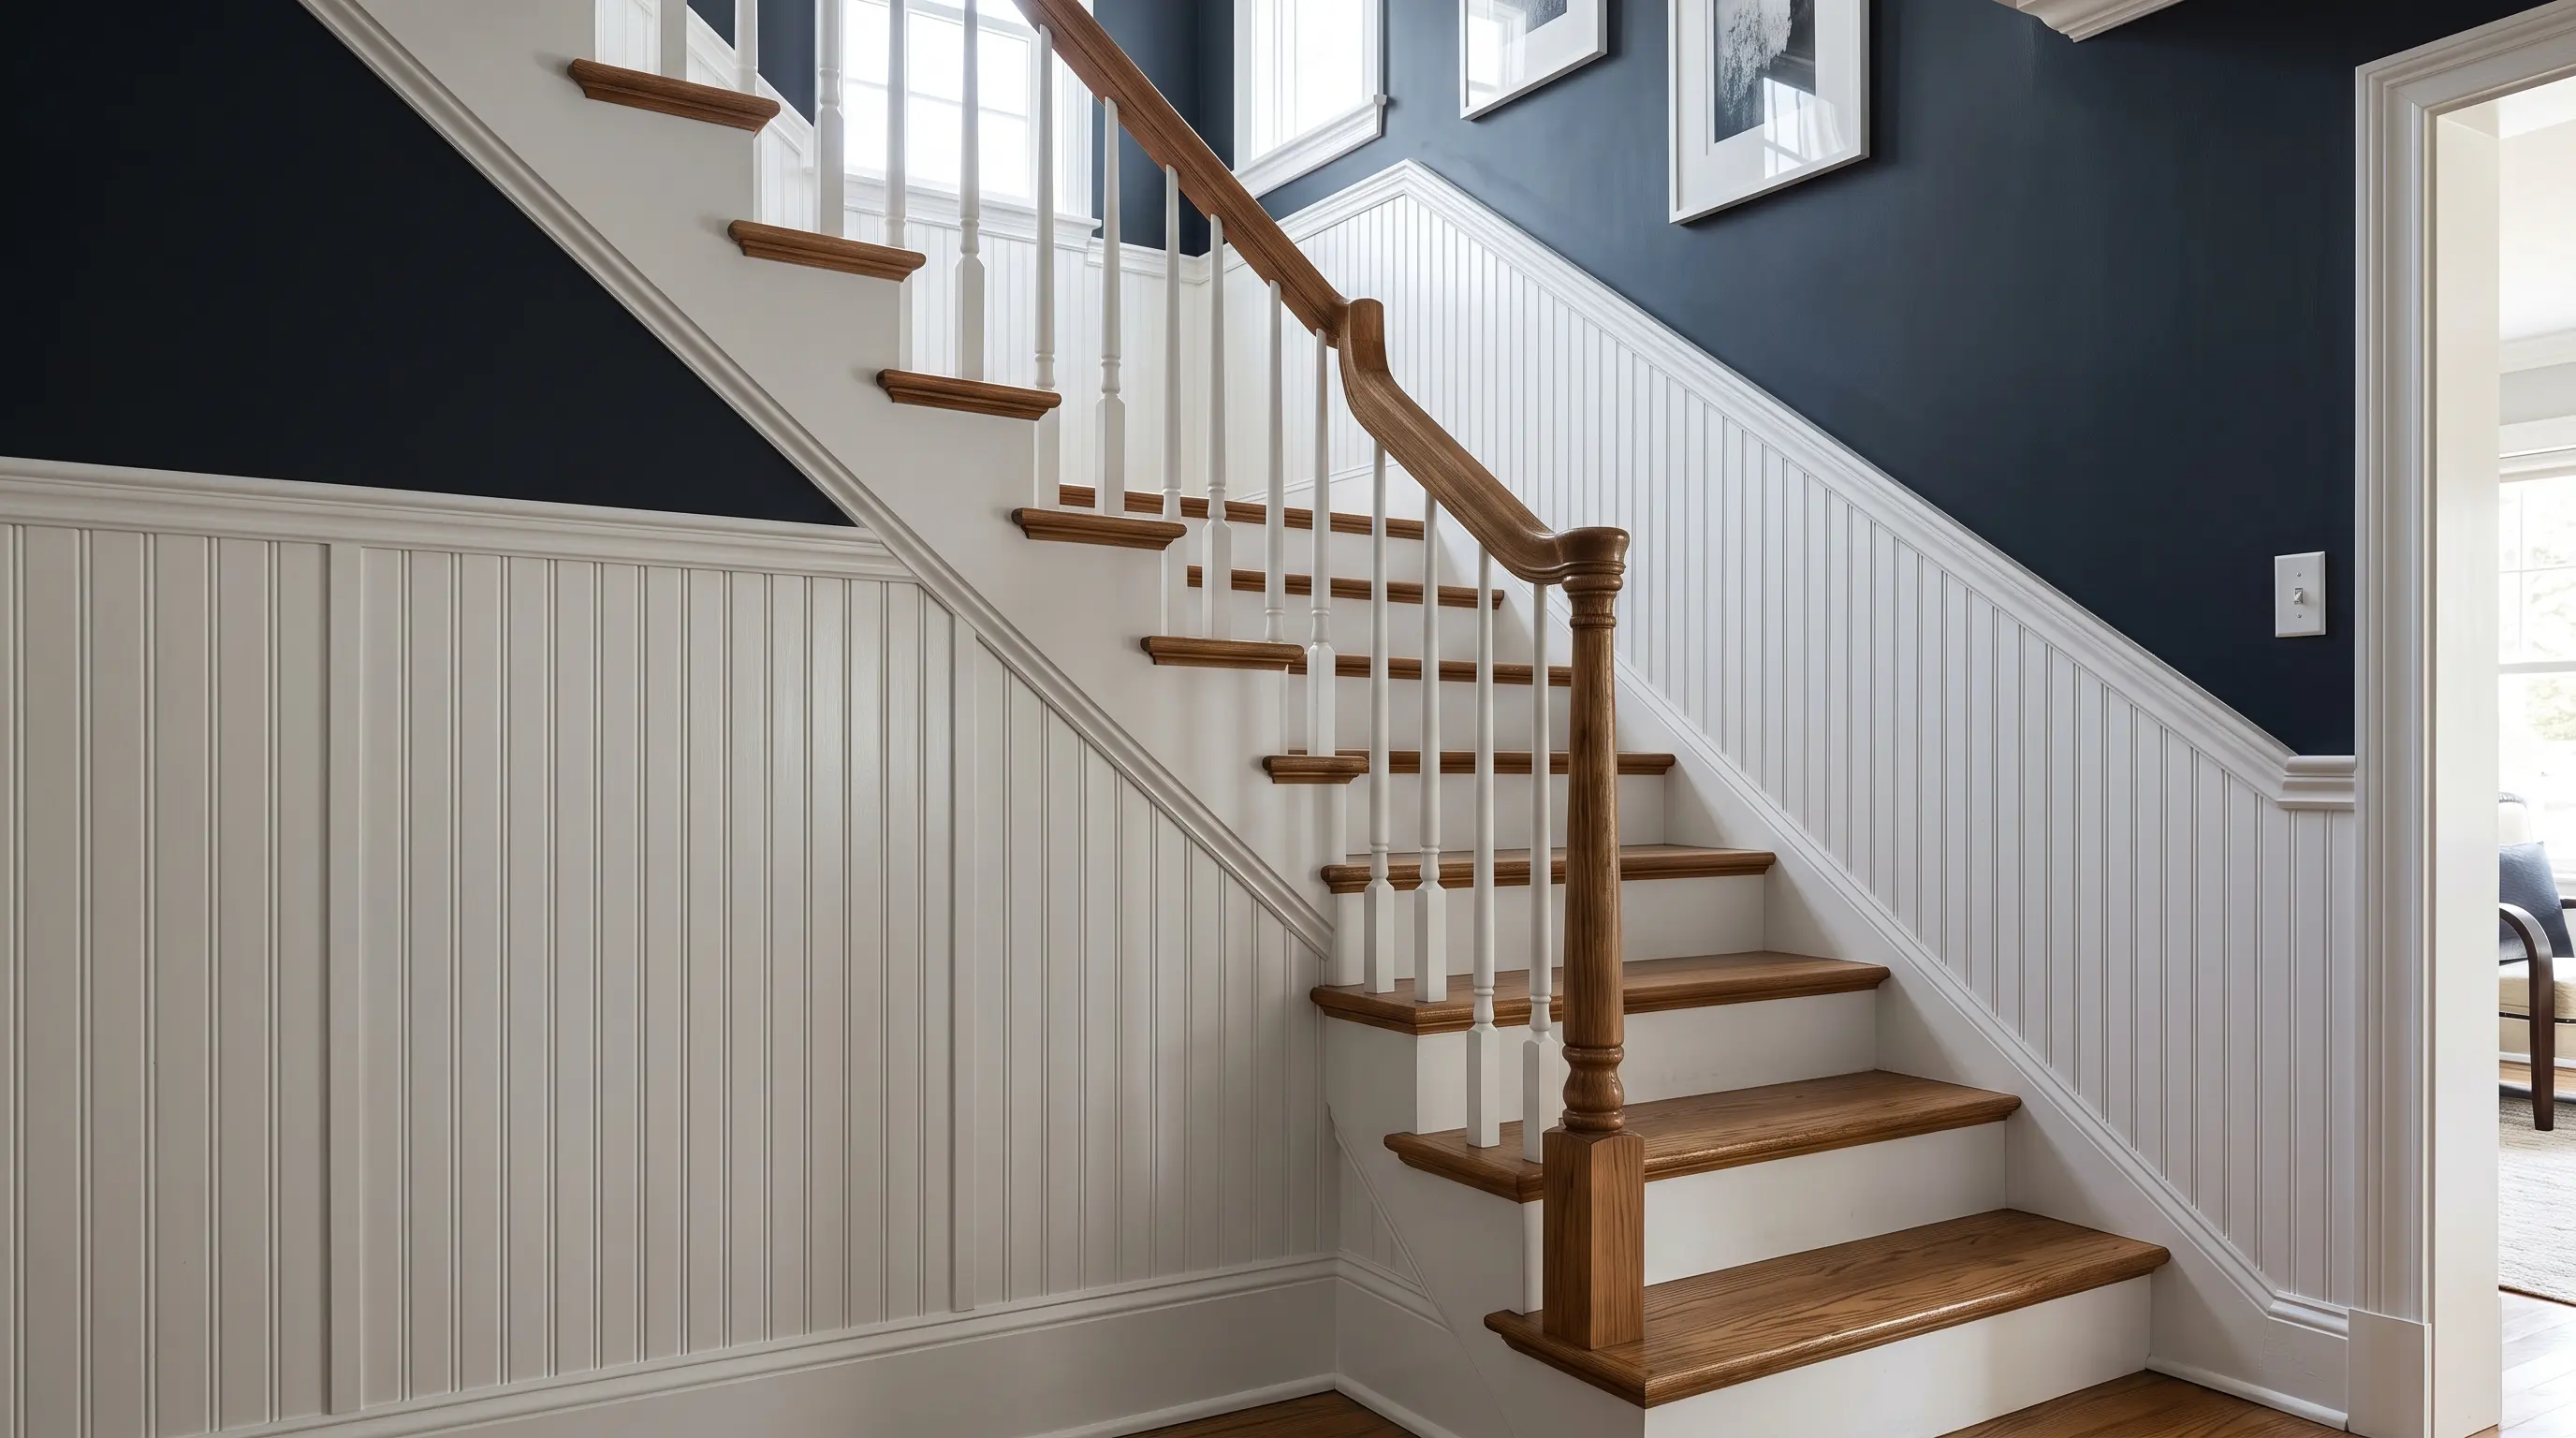
17. Wainscoting on the Stairwell Walls
Add classic texture and protection to your stairwell.
- The Look: The lower half of the stairwell wall is covered in traditional wainscoting or textured beadboard.
- Why it Works: This architectural detail adds historic charm and acts as a perfect design bridge if your home features beadboard ceilings.
- How to Style: Paint it a crisp white or a bold contrasting color to provide beautiful definition against the upper drywall.
🛠️ Tools & Materials: Beadboard panels, chair rail trim, brad nailer, construction adhesive.
🧽 Maintenance: Wipe down the grooves of the beadboard frequently, as dust settles heavily in the textured lines.
⚠️ Mistakes & Safety Codes: Secure, graspable handrails are strictly required on at least one side of the stairs. Ensure the wainscoting does not interfere with the heavy-duty mounting of your handrail!
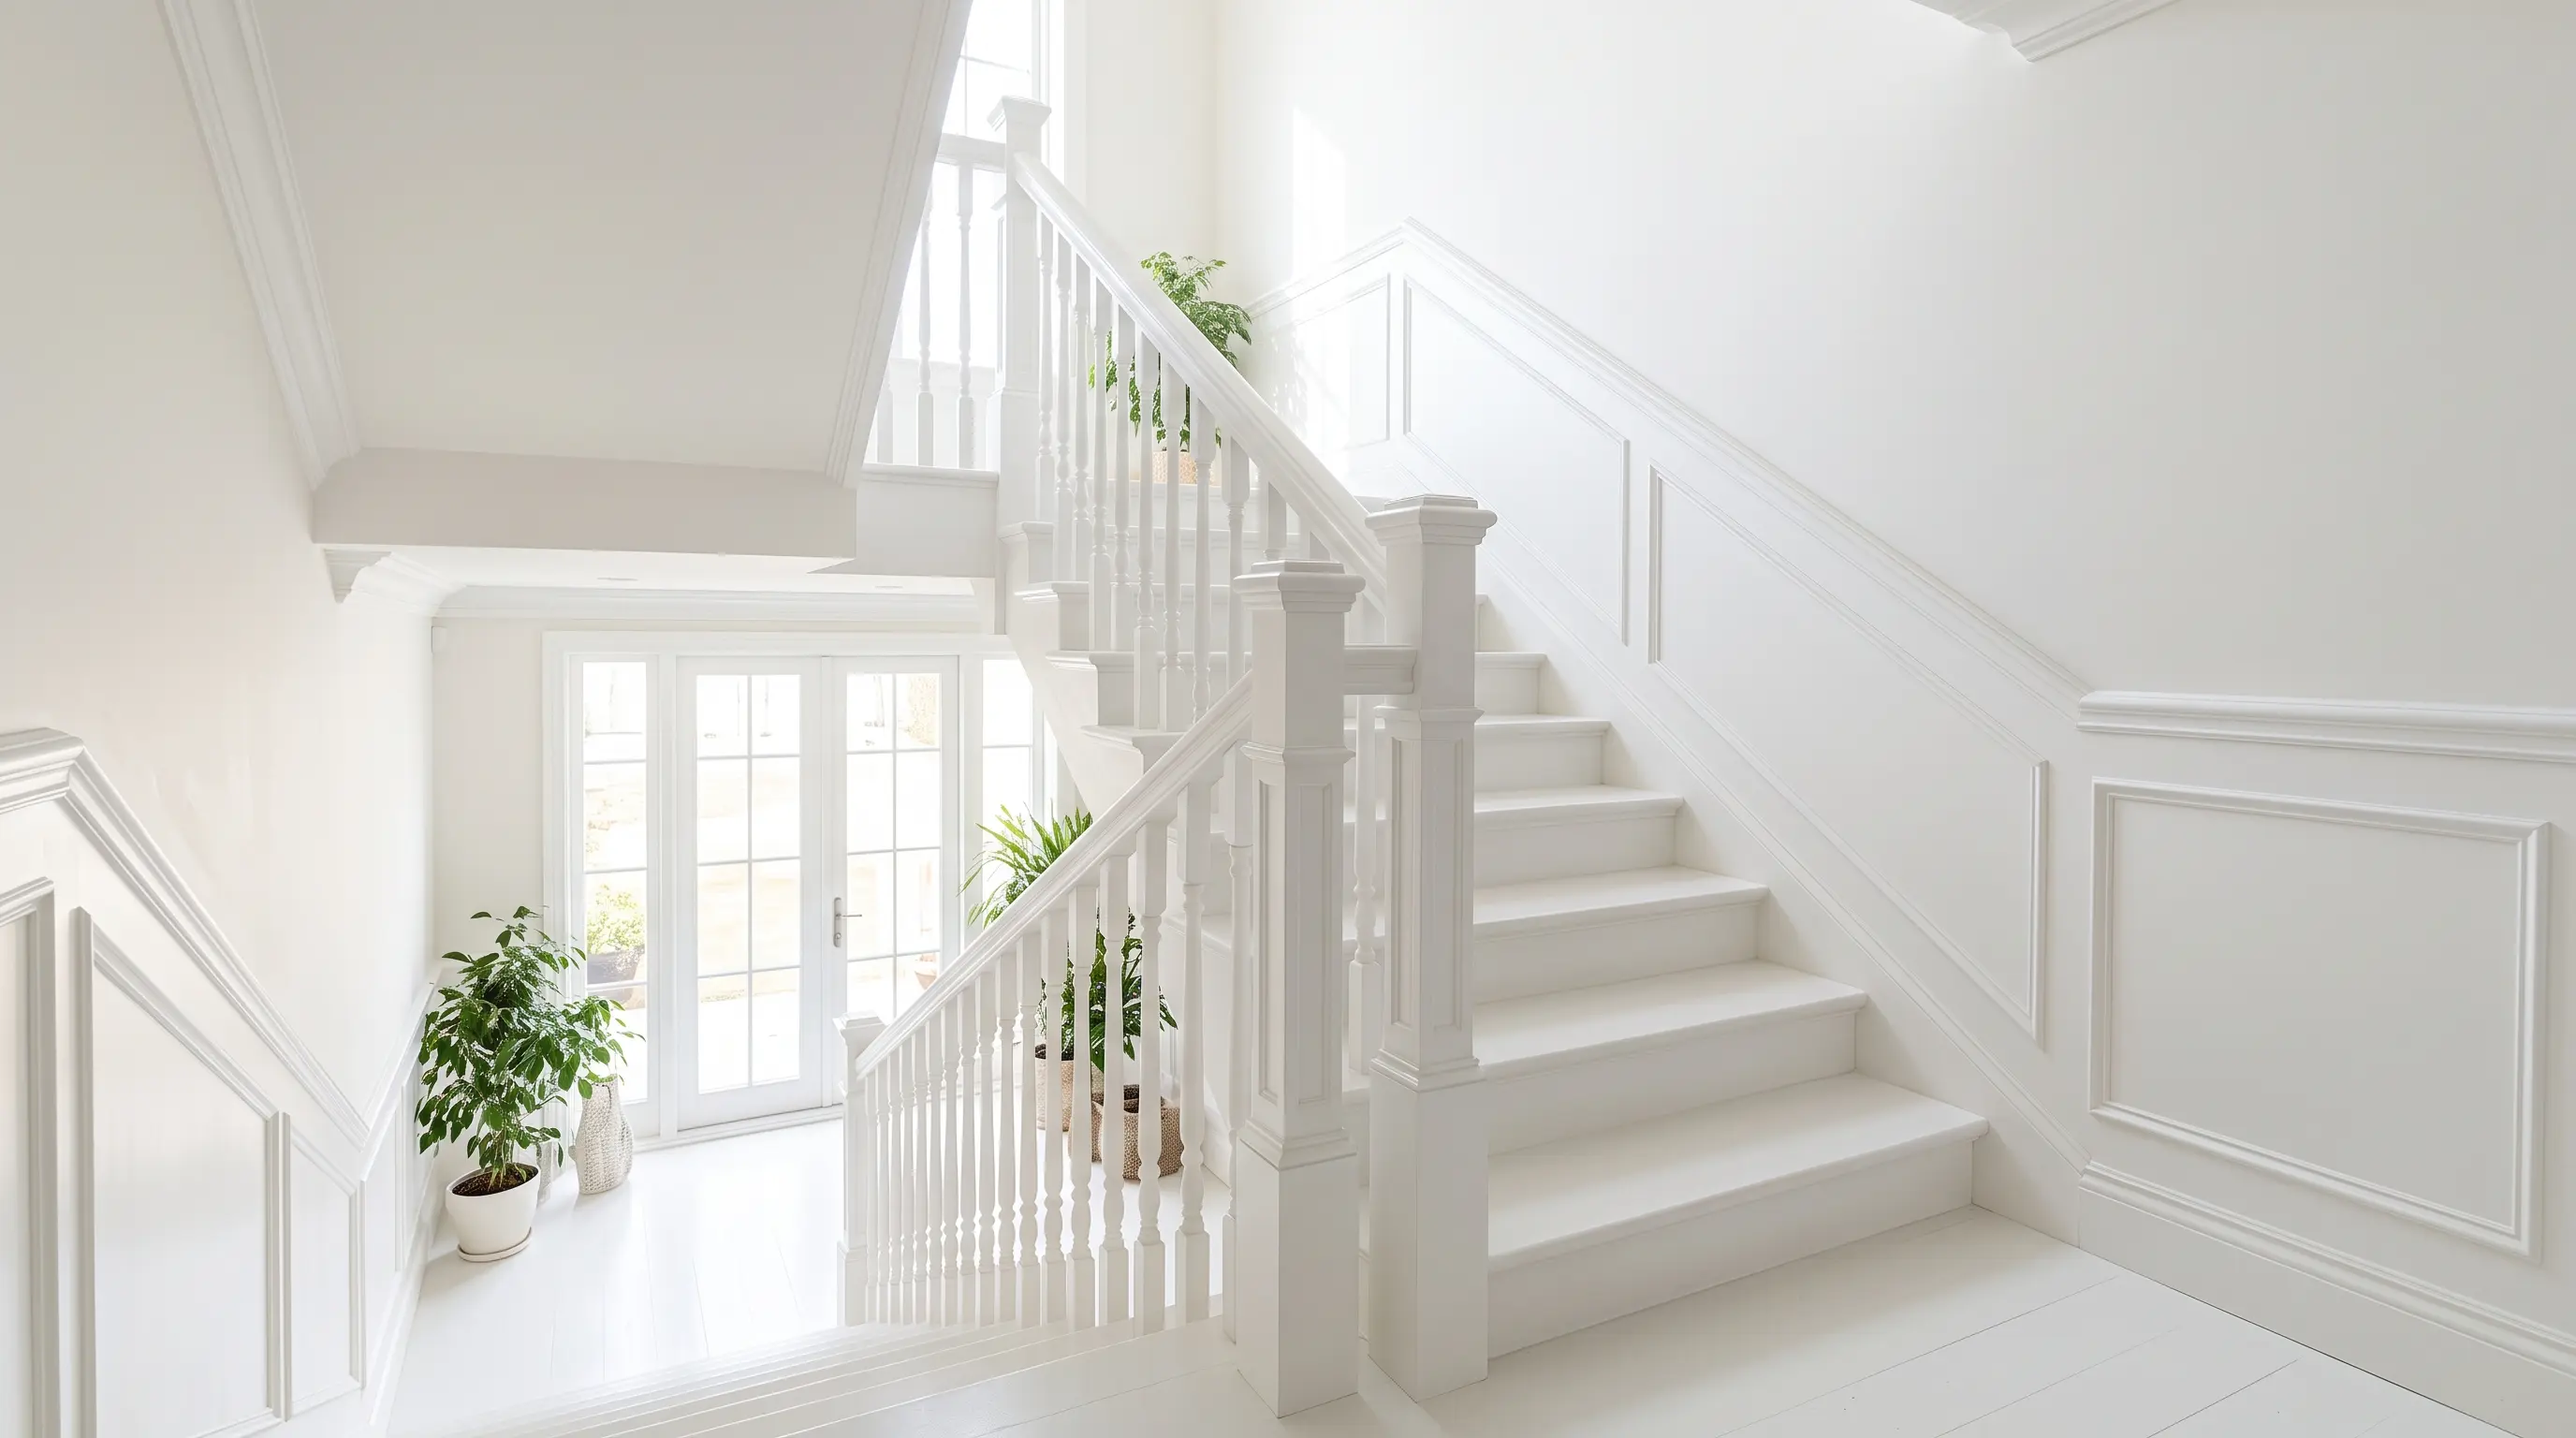
18. Bright White with Natural Light
If you have a window near the stairwell, amplify the light as much as possible.
- The Look: The walls, risers, trim, and railing are all painted a bright, clean, reflective white.
- Why it Works: The intense light reflection will make a potentially dark, dreary basement entrance feel instantly cheerful and welcoming.
- How to Style: Add a large mirror on the landing to double the amount of natural sunlight bouncing down into the basement.
🛠️ Tools & Materials: High-quality stain-blocking primer, bright white satin-finish paint, painter's tape.
🧽 Maintenance: All-white stairs show dirt immediately. Keep a strict "no shoes" policy or be prepared to mop frequently.
⚠️ Mistakes & Safety Codes: Using flat/matte white paint on stairs is a disaster. It absorbs dirt and cannot be scrubbed without ruining the paint. Always use a satin or semi-gloss finish.
Quick Reference Cheat Sheet
- The Goal: Elevate your basement staircase from a dark, utility pathway into a stunning, highly professional architectural focal point.
- The Tools: Proper prep makes perfect. Always use laser levels for wallpaper/gallery walls, and floor-rated Polyurethane enamel for painted steps.
- The Safety First: Squeaks mean loose wood; screw them down. Never cut into structural stringers without an engineer, and ensure handrails are bolted into studs.
- The Renter Route: You don't need a demo day! Peel-and-stick riser decals, command-strip gallery walls, and lightly stapled fabric runners completely transform a space securely.
Frequently Asked Questions (FAQ)
Q: What is the most important safety consideration when redesigning basement stairs?
A: The building code is non-negotiable. Key requirements include: consistent tread depth (usually a minimum of 10 inches) and maximum riser height (typically 7.75 inches). You must also maintain a minimum headroom of 80 inches, and railing balusters must be spaced no more than 4 inches apart.
Q: How can I make my basement stairs less noisy?
A: Squeaky stairs are often caused by loose treads rubbing against stringers. Secure them with screws (not nails) from below. Adding a thick, quality carpet pad beneath a runner will also drastically absorb sound. For open-riser stairs, adding a discreet felt pad between connecting parts minimizes clicks.
Q: My basement stairwell is very dark. What’s the best lighting solution?
A: Layered lighting is key. Ensure you have a bright overhead light at the top and bottom, then add ambient layers like LED strip lights under handrails or treads, and plug-in wall sconces. The goal is to eliminate shadows on each step.
Q: Can I renovate my basement stairs myself, or should I hire a professional?
A: It depends on the scope. DIY-friendly projects include painting, installing a runner, or adding wallpaper. However, any change to the stair’s structure, pitch, or footprint (like creating open risers or a spiral stair), or work involving load-bearing walls, strictly requires a licensed contractor.
Final Thoughts
By investing thought and creativity into this often-overlooked space, you do more than just improve aesthetics—you enhance safety, increase functionality, and elevate the entire experience of your home. A well-designed basement staircase doesn’t just lead to a renovated room; it promises an arrival. Do not view that stairway as a boring chore; treat it as the opening chapter to your basement’s story. Grab your tools, follow the codes, and make it a page-turner in your beautiful Vindy Space!